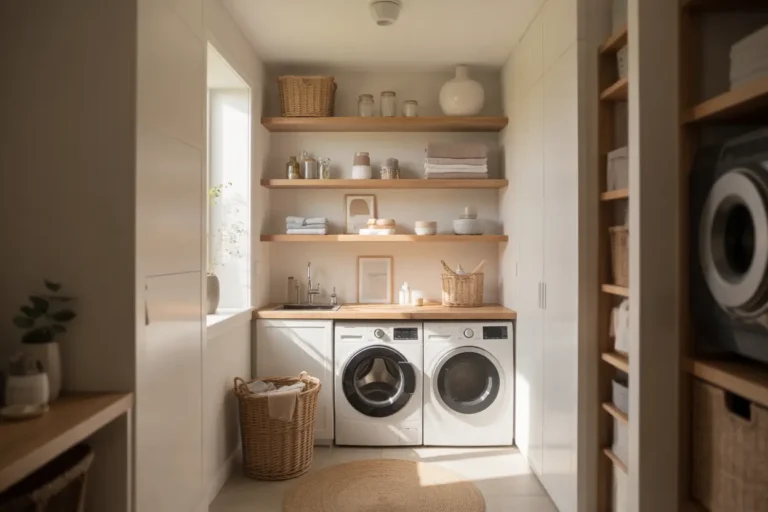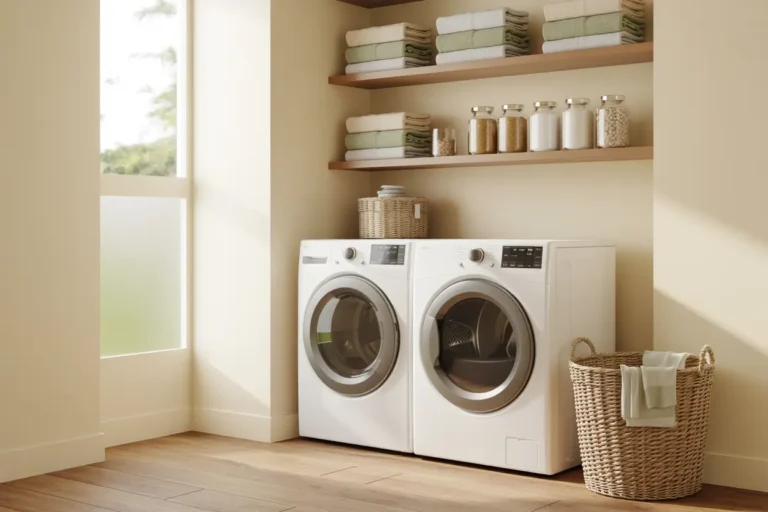
20 Stackable Laundry Room Setups With Custom Storage

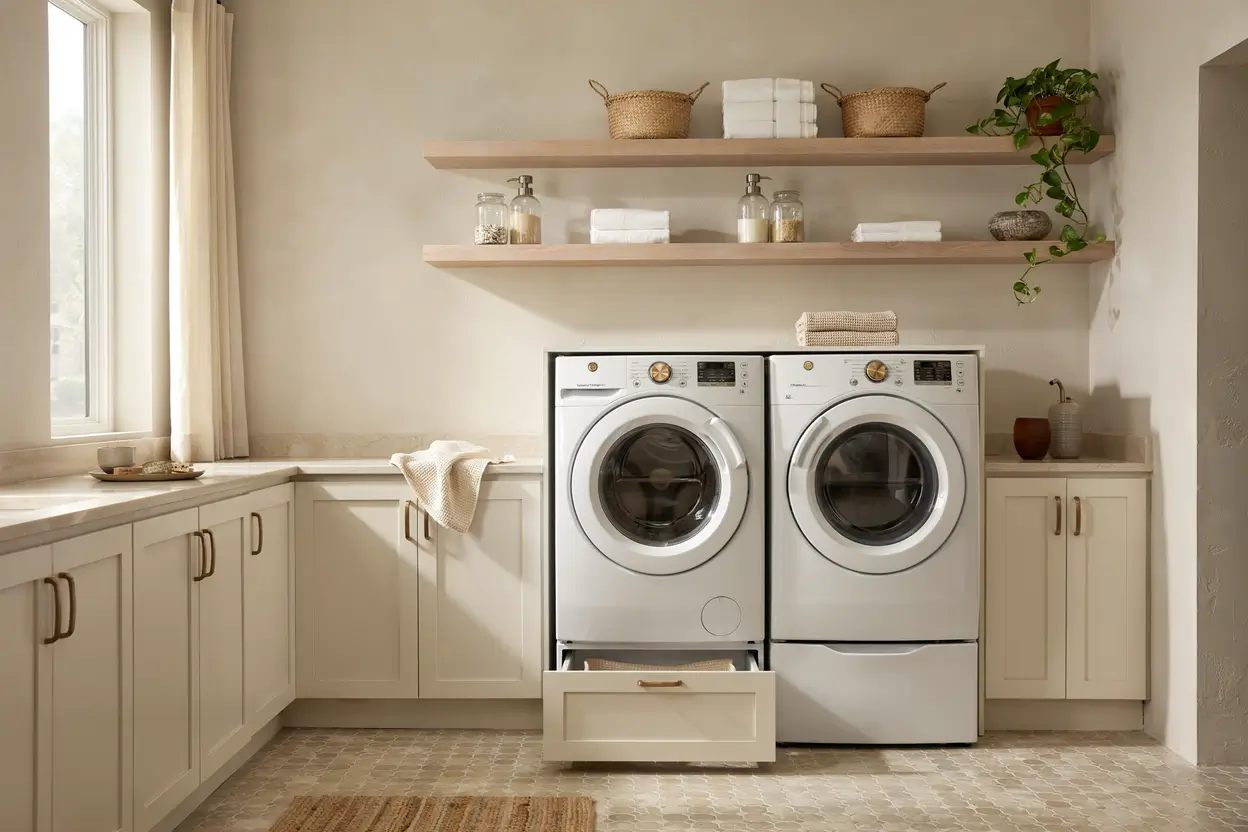
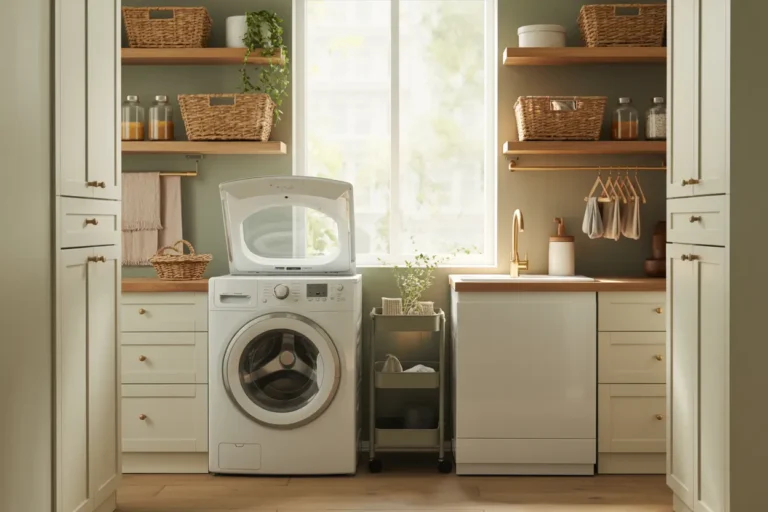
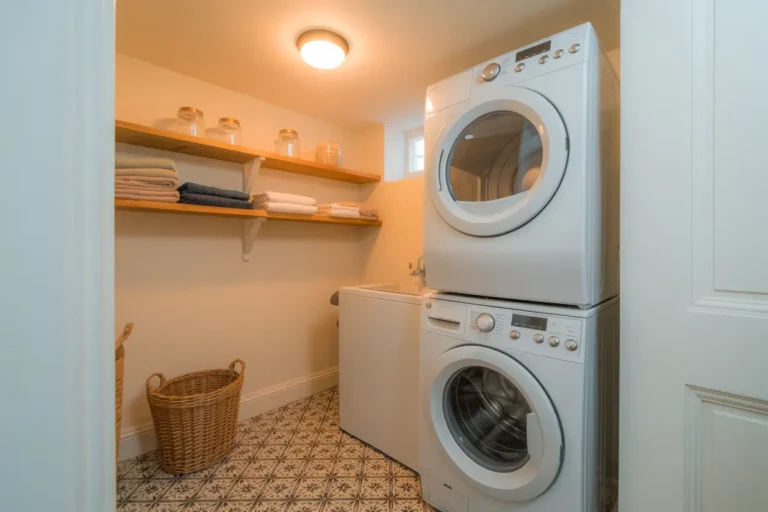
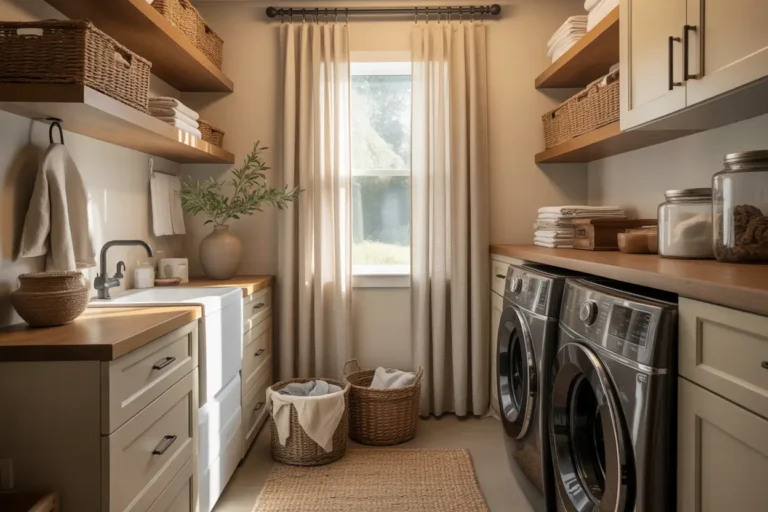
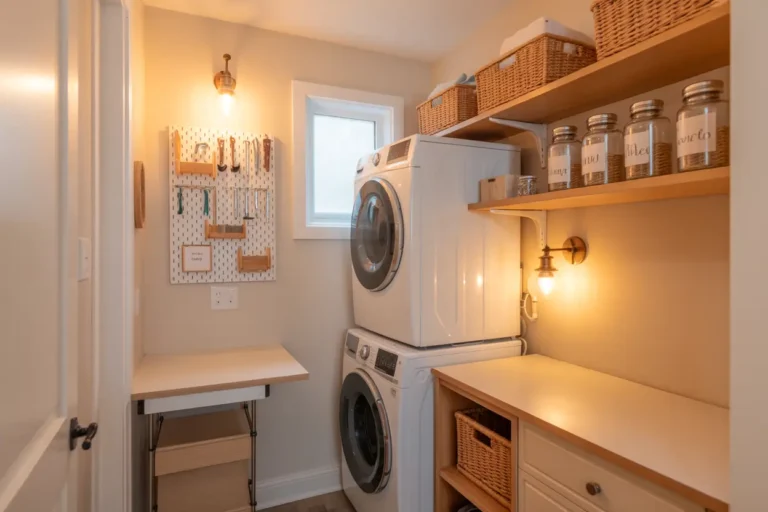
Stacking the washer and dryer solves the floor space problem, but it creates a new question: what do you actually build around it? A stackable laundry room works hardest when the storage surrounding the machines is designed specifically for that stacked footprint, not just added as an afterthought.
This guide covers 20 real setups for building custom storage around a stacked washer and dryer, and each one includes something practical: a cost range, a measurement, an install step, or an honest pros-and-cons breakdown, so you can plan the space around your machines rather than working around leftover gaps.
Start with the storage need that bothers you most day to day, whether that’s hiding the machines, adding folding space, or organizing supplies.
1. Full Custom Cabinetry Surround
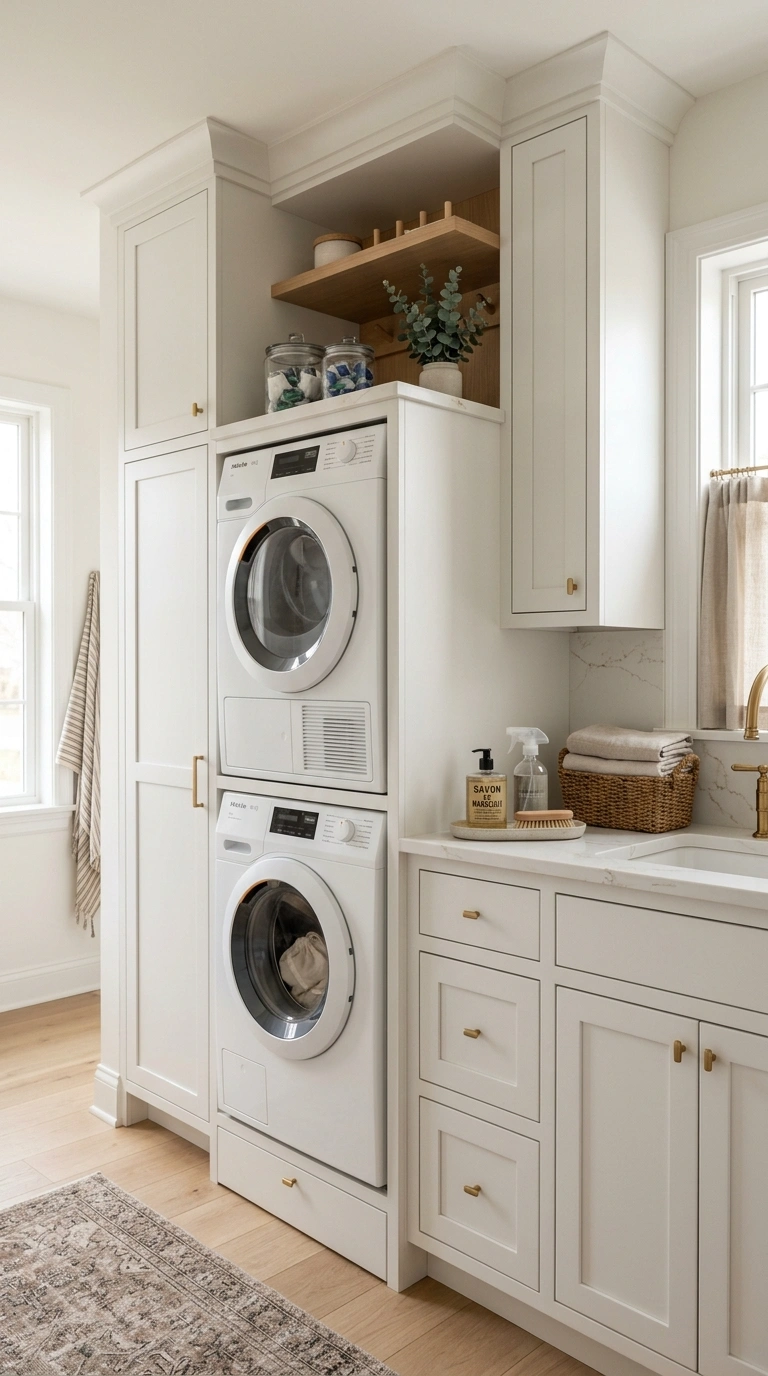
Custom cabinetry built specifically around a stacked washer and dryer creates a finished, furniture-like look, with the machines fully integrated rather than sitting exposed in a closet.
| Tier | What You Get | Approx. Cost |
| Budget | Basic surrounding cabinetry, stock sizing | $1,200-$2,500 |
| Mid-Range | Semi-custom cabinetry matched to the space | $2,500-$5,000 |
| Investment | Fully custom built-in cabinetry with integrated counter | $5,000-$10,000+ |
This is one of the bigger investments on this list, but it delivers the most cohesive, intentional-looking result, especially if the laundry space is visible from a hallway or living area.
2. Panel-Ready Appliance Fronts
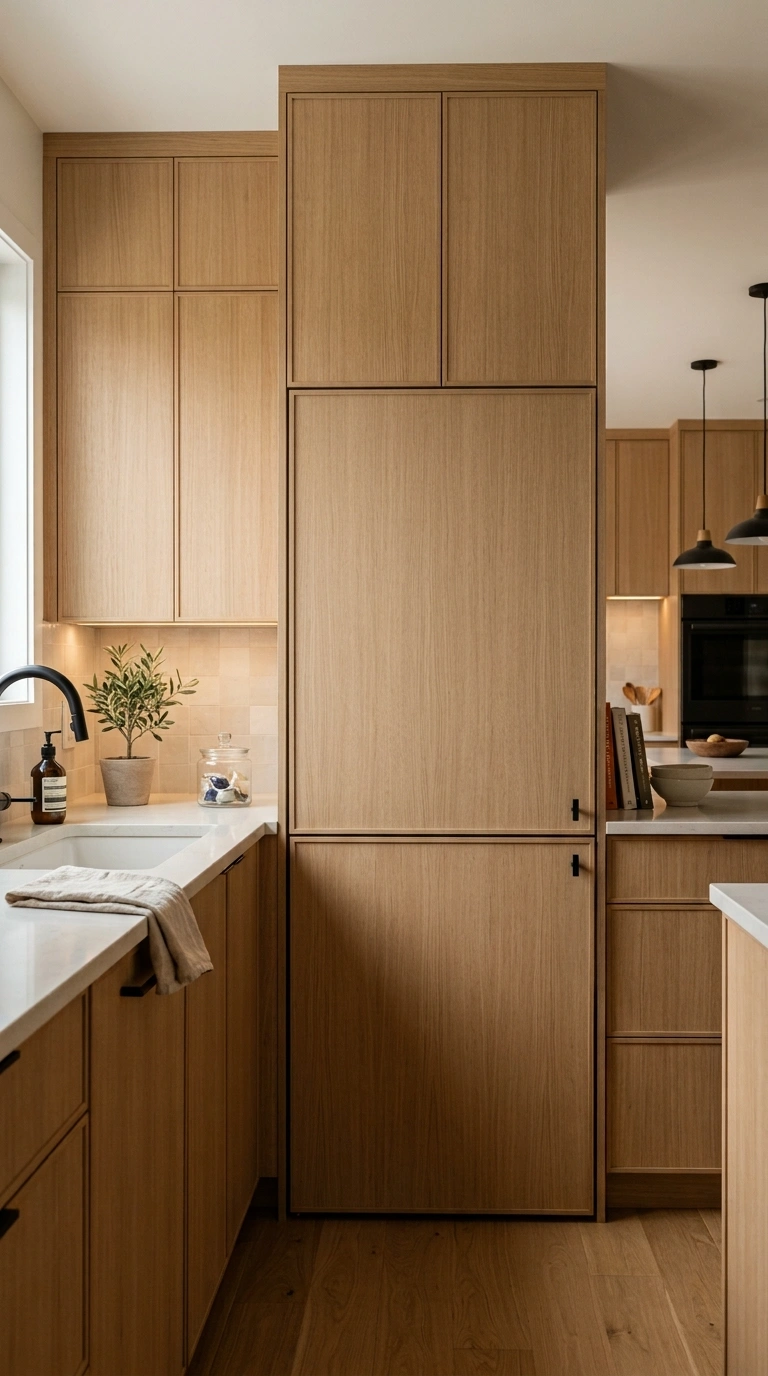
Panel-ready washers and dryers accept custom cabinetry fronts that match your surrounding cabinets, fully disguising the machines as built-in furniture rather than visible appliances.
Cost range: panel-ready appliances typically cost $200-$500 more than standard models, plus $150-$400 per custom panel front, depending on material.
This works especially well in a laundry space that’s part of an open kitchen or mudroom, where visible appliances would otherwise disrupt the overall cabinetry look.
3. Open Shelving Flanking the Stack
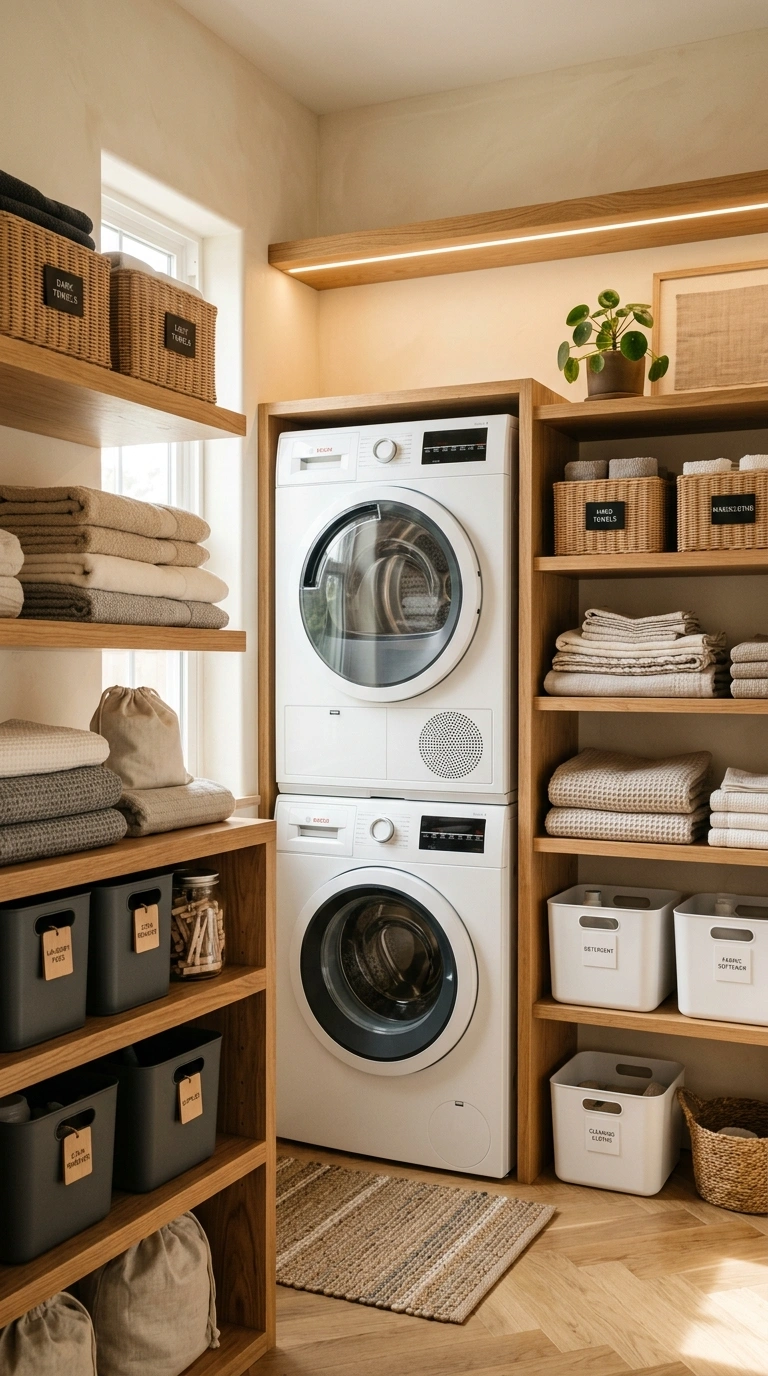
Open shelves installed on either side of a stacked washer and dryer use the vertical space beside the machines, which is often otherwise ignored space between the stack and the surrounding walls.
Basic install steps: 1. Locate wall studs on either side of the stacked unit. 2. Mount shelf brackets at heights that clear the machines’ control panels and doors when open. 3. Space shelves 12-14 inches apart for standard detergent and supply storage.
Cost range: $80-$220 for a full set of shelves on both sides, DIY-installed.
I’ve found that adding woven storage baskets for open shelves helps these narrow shelves stay neat without making the laundry area feel busy. They hide small items like dryer sheets and stain removers while adding a softer texture that balances the clean lines of the stacked machines and shelving.
4. Fold-Down Counter Beside the Stack
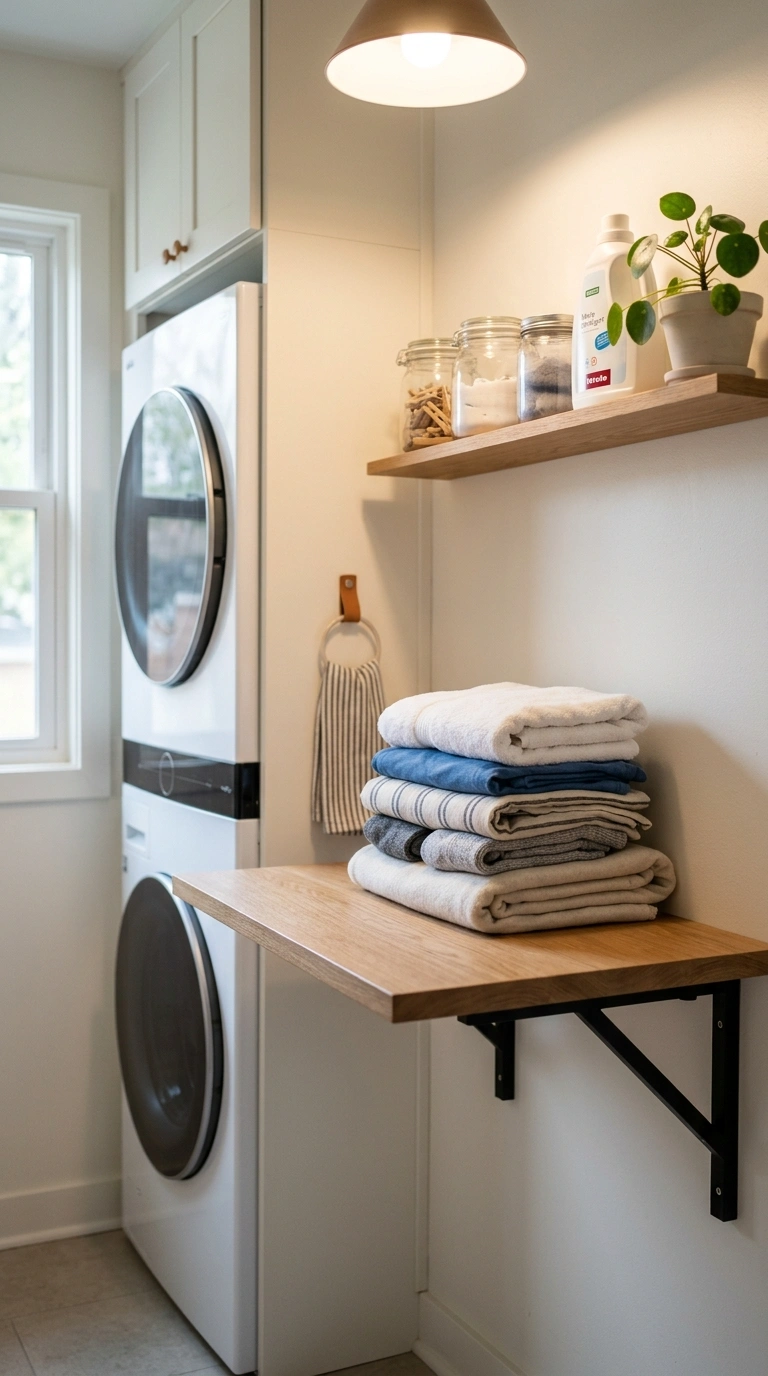
A hinged, fold-down counter mounted on the wall beside the stacked machines provides a folding surface without needing a separate table, and it folds flat against the wall when not in use.
DIY steps: 1. Mount a counter-height ledger board into wall studs. 2. Attach a hinged counter panel and a folding leg or bracket support. 3. Size the counter to at least 20×24 inches for comfortable folding use.
Cost range: $100-$300 depending on material and size.
I’ve found that using heavy-duty folding shelf brackets makes this kind of project feel much sturdier while still keeping the space flexible. They lock the counter in place when you’re folding clothes, then tuck away neatly so the laundry area stays open and easy to move around.
5. Pull-Out Ironing Board Drawer
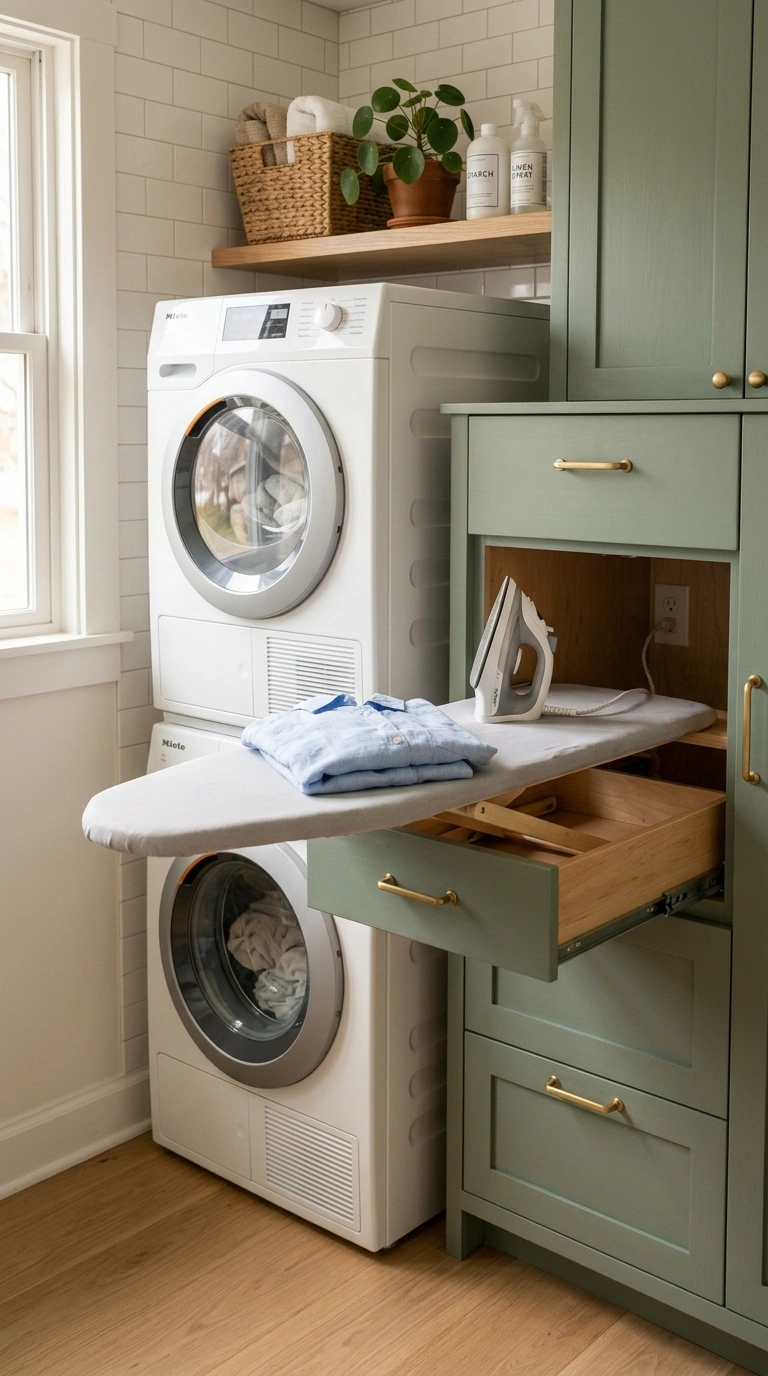
A drawer that pulls out to reveal a built-in ironing board, rather than a wall-mounted fold-down version, keeps the board completely hidden and protected inside custom cabinetry beside the stack.
Measurement guide: allow for a drawer depth of at least 6-8 inches to accommodate the folded board and iron storage, within a cabinet section roughly 20-24 inches wide.
Cost range: $150-$400 for a custom-fit pull-out ironing drawer system.
6. Vertical Pull-Out Hamper Tower
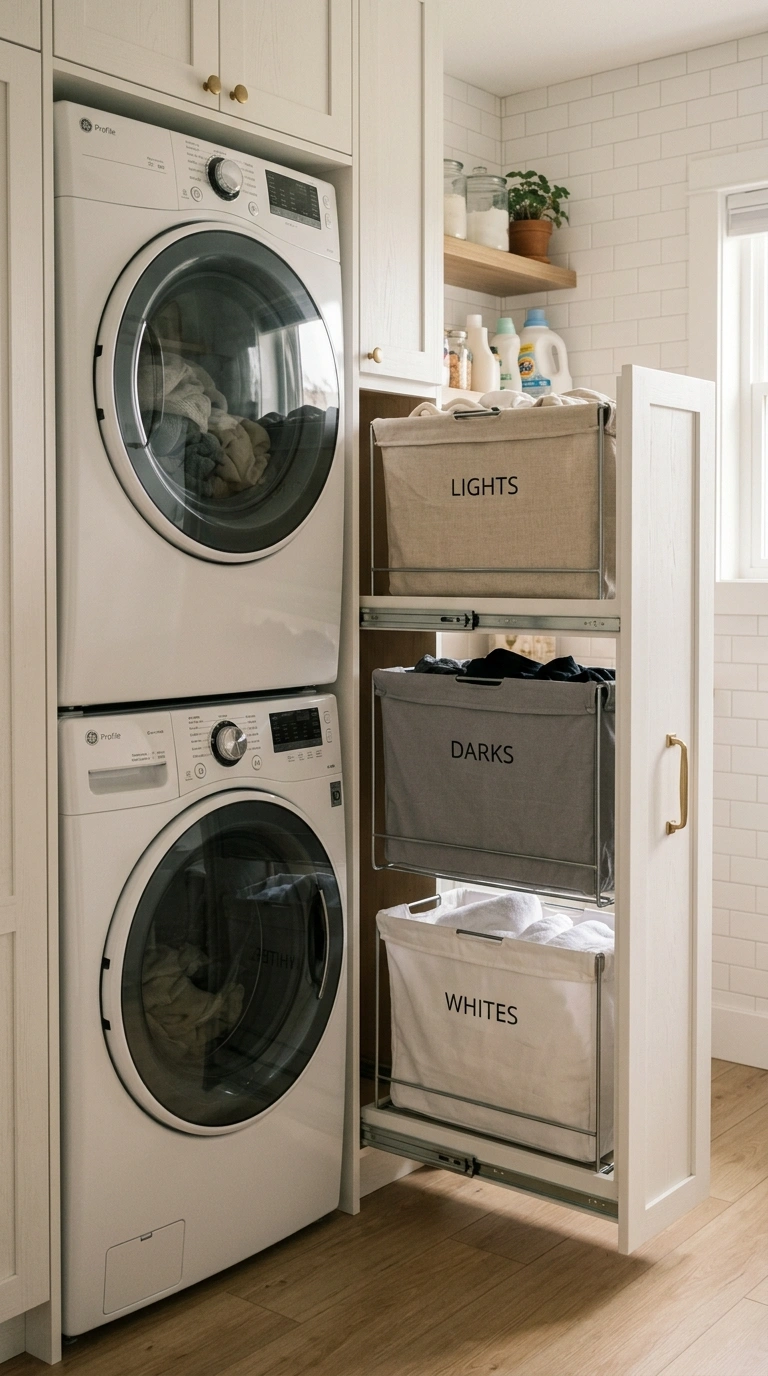
A tall, narrow pull-out tower with 2-3 hamper bins, built into cabinetry beside the stack, keeps sorted laundry contained vertically rather than requiring floor space for separate baskets.
Space measurement guide: most vertical hamper towers fit into a cabinet section 12-18 inches wide, using the full height available beside the stacked machines.
Cost range: $250-$600 depending on the number of bins and cabinetry material.
One thing I always reach for is a soft-sided pull-out laundry hamper insert because it keeps clothes contained without making the bins feel bulky or hard to remove. It also helps make sorting lights, darks, and towels a little easier while keeping the cabinet looking neat.
7. Countertop Bridge Over the Stack and Adjacent Cabinet
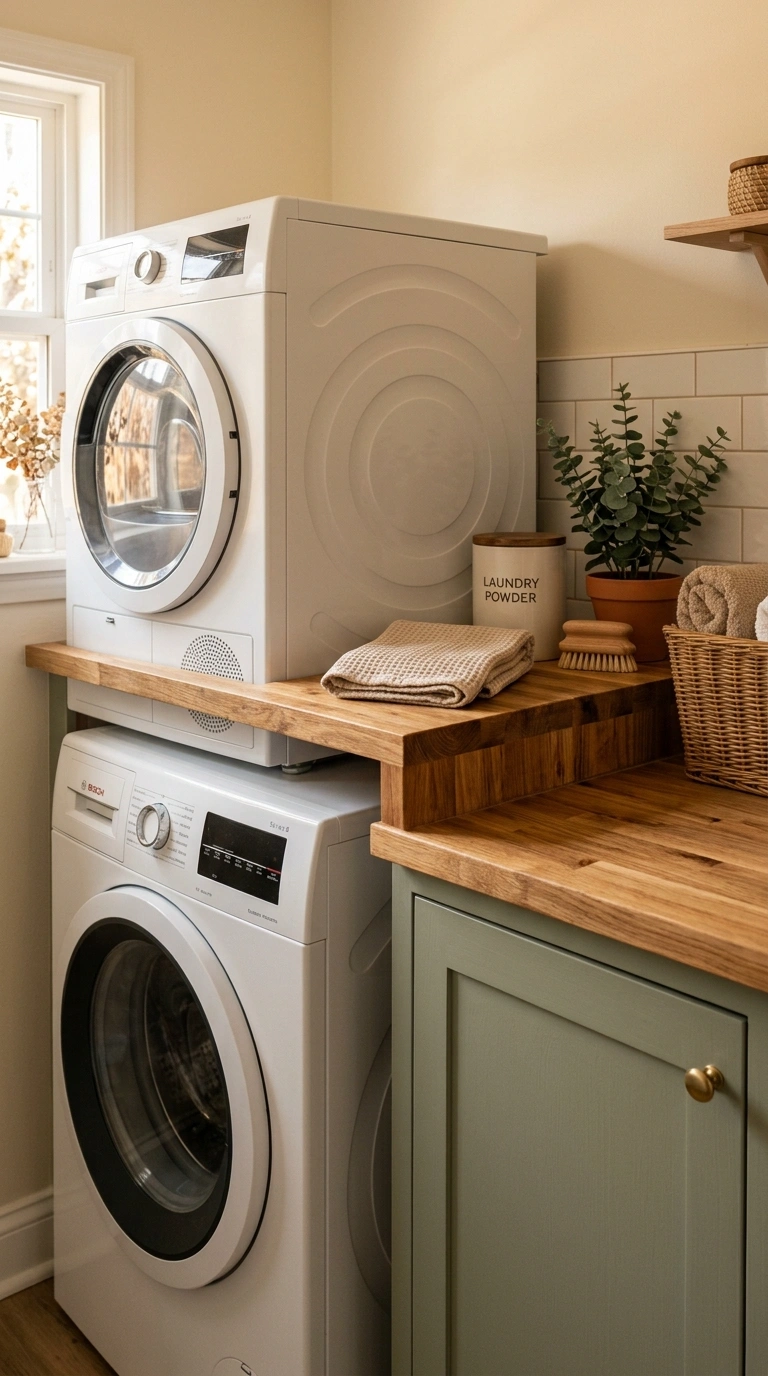
A single continuous countertop spanning from the top of the stacked dryer to an adjacent cabinet or shelf creates one unified work surface, rather than a separate floating shelf that doesn’t visually connect to the rest of the room.
| Material | Pros | Cons |
| Laminate | Budget-friendly, wide color range | Less heat-resistant near dryer vent |
| Butcher block | Warm, natural look | Needs sealing, sensitive to moisture |
| Quartz | Durable, low maintenance | Higher cost, heavier installation |
Cost range: $150-$500 depending on material and length of the bridge span.
8. Glass-Front Upper Cabinets
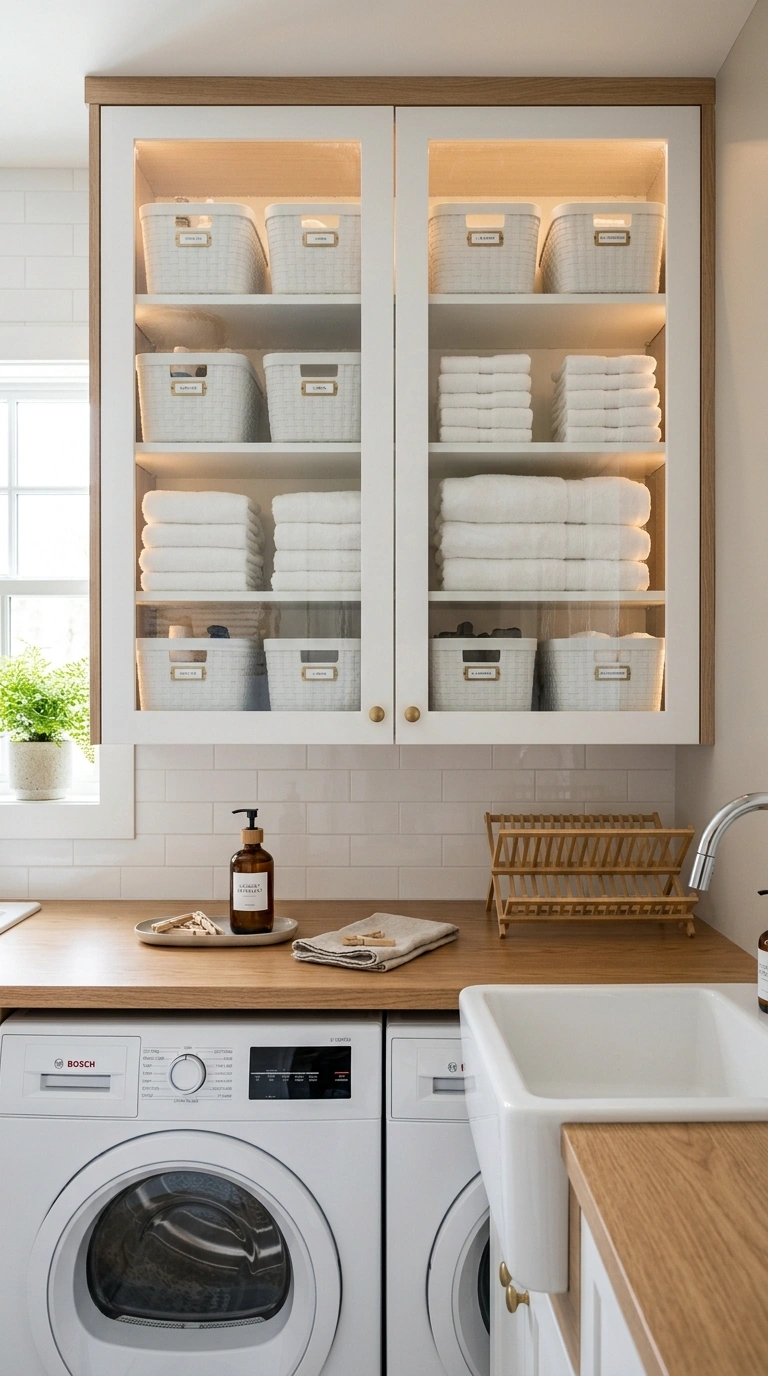
Glass-front cabinets installed above a stacked washer and dryer combine real storage capacity with a lighter, less bulky visual feel than solid cabinet doors, especially useful in a small laundry closet.
Cost range: $300-$800 for a set of glass-front upper cabinets, somewhat more than solid-door versions due to the glass and additional trim work.
Style the visible contents intentionally, since glass fronts show what’s inside; matching bins or labeled containers behind the glass look considerably more finished than loose, mismatched bottles.
9. Open Cubby Wall System
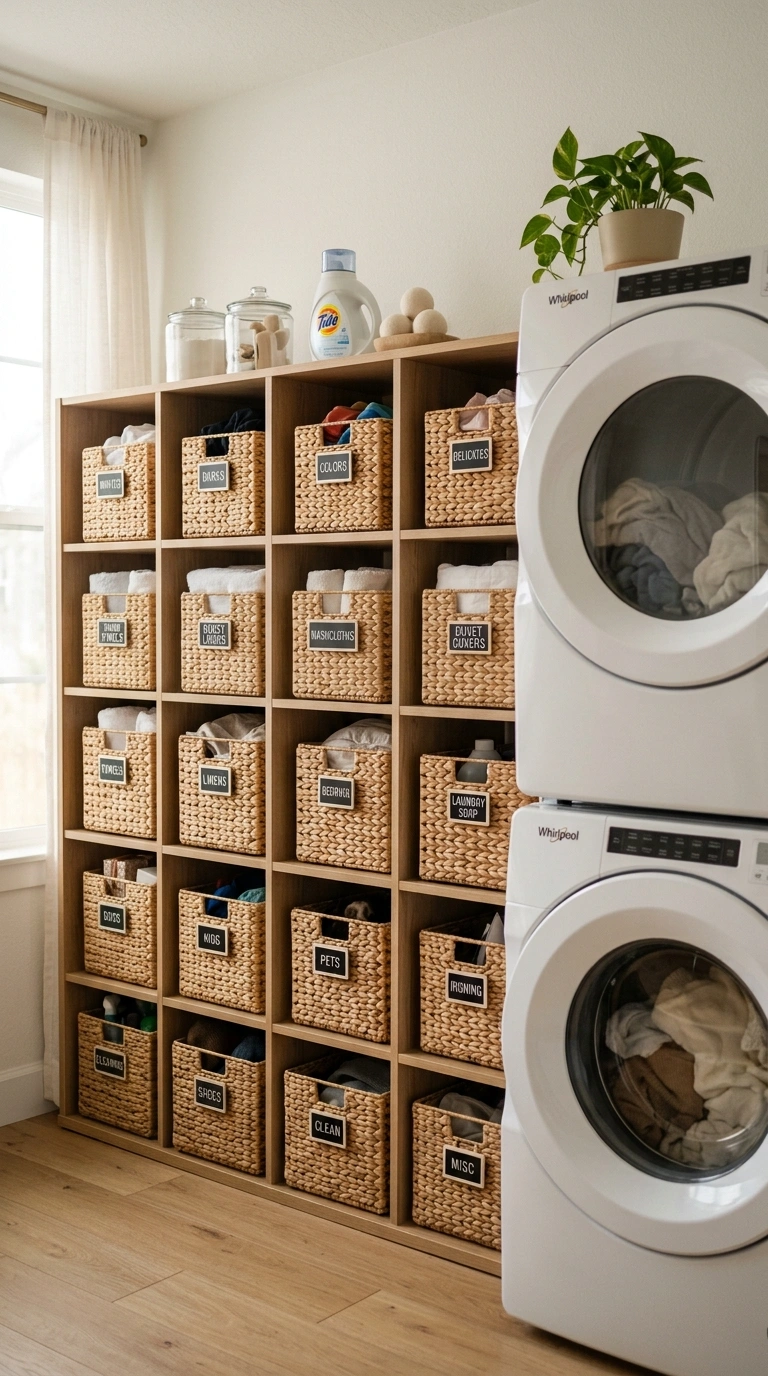
A modular wall of open cubbies, sized to hold baskets, bins, or folded items individually, brings flexible, adjustable organization to the wall space beside or above a stacked unit.
Sizing guide:
| Cubby Size | Best For |
| 12×12 inches | Small baskets, folded hand towels |
| 14×14 inches | Standard laundry baskets |
| 16×16 inches | Bulkier bins or larger folded items |
Cost range: $200-$500 for a modular cubby system sized to a standard laundry closet wall.
10. Corner-Fit Stack with Wraparound Shelving
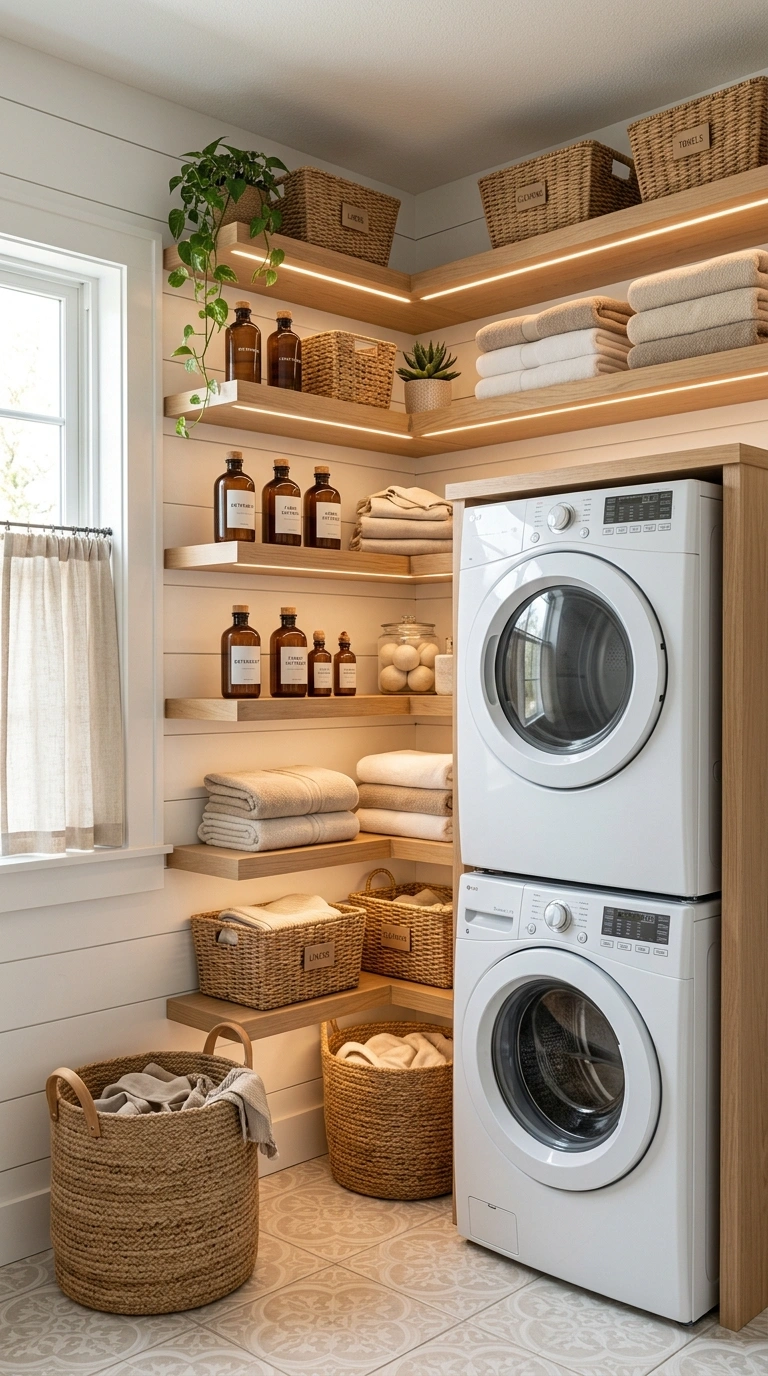
In an L-shaped or corner laundry space, positioning the stacked machines in the corner and wrapping shelving around the adjacent walls captures storage space that a straight single-wall layout would miss entirely.
Space measurement guide: confirm at least 30-32 inches of depth on the shelving side of the corner to keep shelf contents from interfering with the machines’ clearance needs.
Cost range: $150-$400 for wraparound shelving sized to a typical corner configuration.
I’ve found that adjustable wall-mounted corner shelf brackets make wraparound shelving much easier to fit around stacked machines. They give steady support while letting you customize shelf heights for baskets, detergents, and everyday supplies, so the corner feels organized instead of crowded.
11. Concealed Stack Behind Bifold or Pocket Doors
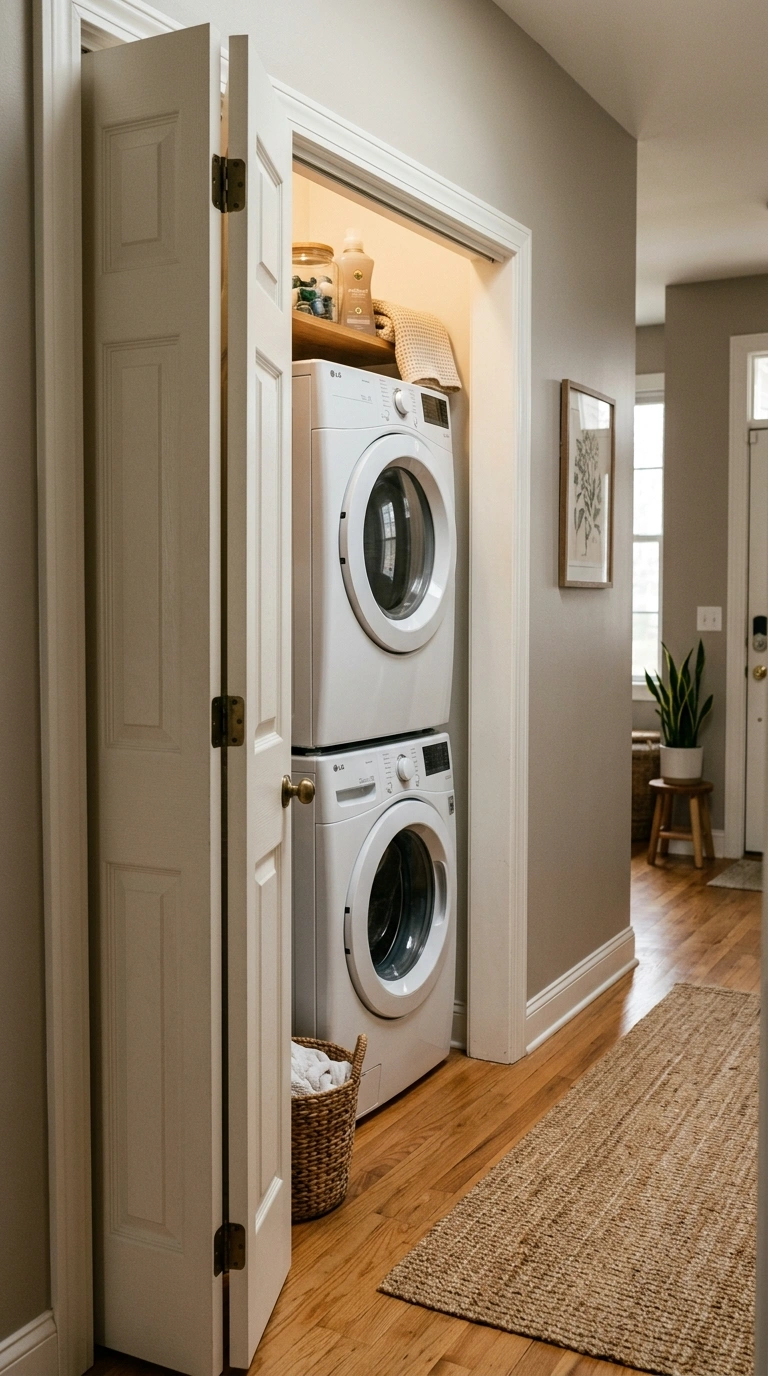
Hiding a stacked washer and dryer behind doors, whether bifold or a sliding pocket door, keeps the laundry area visually out of sight when it’s part of a hallway, kitchen, or open living space.
| Door Type | Pros | Cons |
| Bifold doors | Lower cost, easier retrofit | Takes up some swing clearance when open |
| Pocket door | No swing clearance needed | Higher cost, requires wall cavity access |
Cost range: $200-$500 for bifold doors, or $800-$2,000 for a pocket door installation including wall modification.
12. Storage-Drawer Riser Pedestal
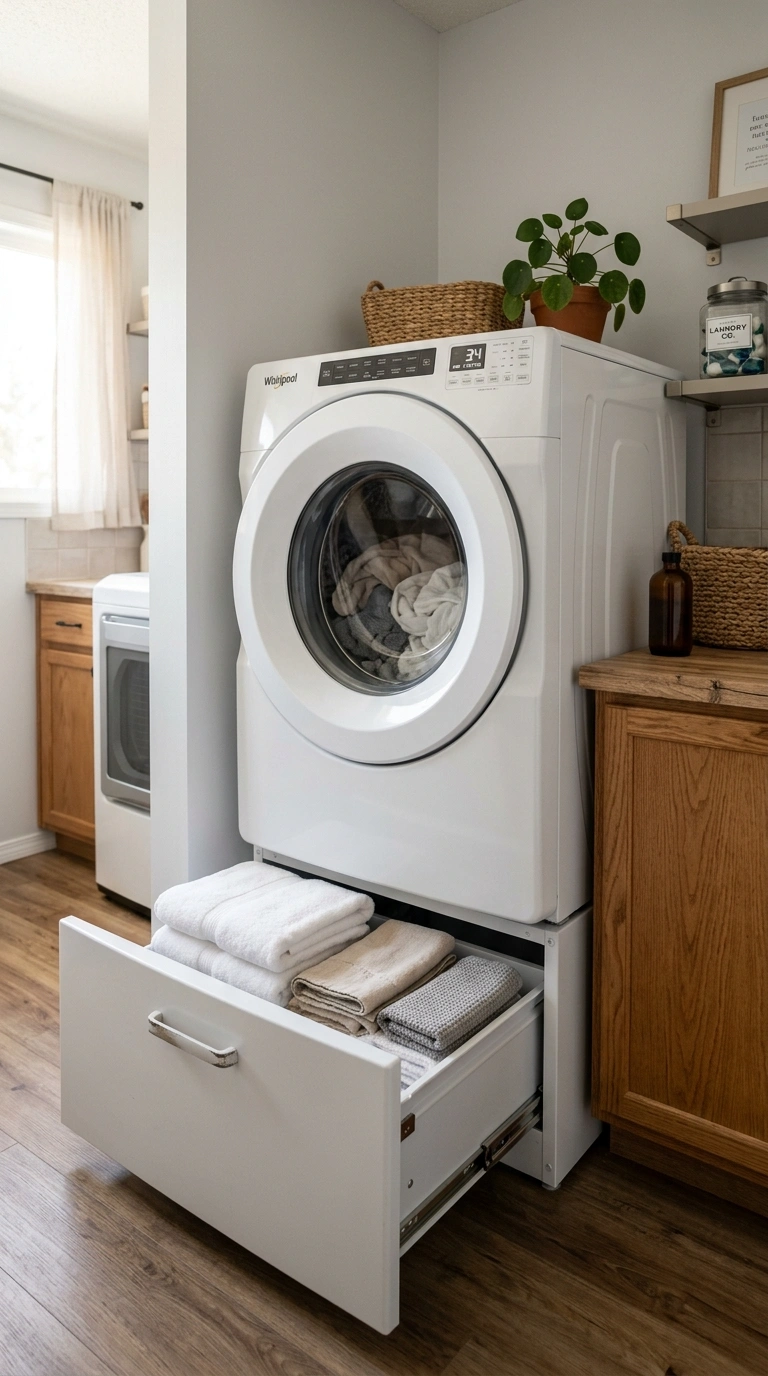
A pedestal base with built-in storage drawers, installed beneath the washer (and sometimes the dryer, if not stacked), raises the machine to a more ergonomic height while adding genuine drawer storage underneath.
A real ergonomic benefit: raising a front-loading washer by even 12-15 inches significantly reduces the bending required to load and unload it, which matters over years of daily use.
Cost range: $150-$350 per pedestal, often available directly from appliance manufacturers to match specific washer and dryer models.
13. Slide-Out Wire Baskets
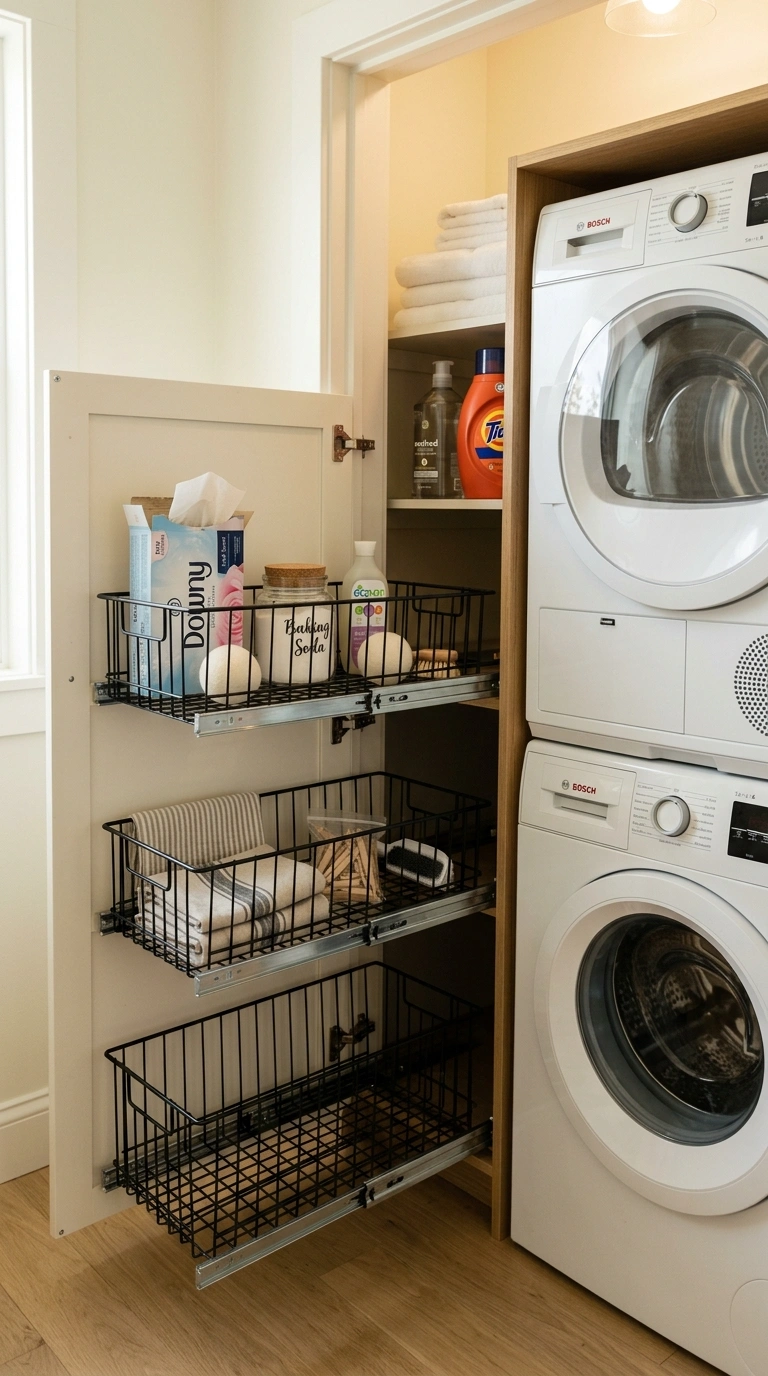
Slide-out wire baskets, mounted in cabinetry beside or above the stack, hold smaller items like dryer sheets, stain removers, and clothespins in an organized, easy-to-see system.
Cost range: $30-$90 depending on the number of baskets and slide mechanism quality.
One thing I always reach for is full-extension pull-out wire storage baskets because they let you see everything at a glance instead of digging through deep cabinets. Keeping smaller laundry supplies in easy-to-slide baskets makes everyday tasks feel a little more organized and less cluttered.
14. Full-Height Cleaning Supply Cabinet
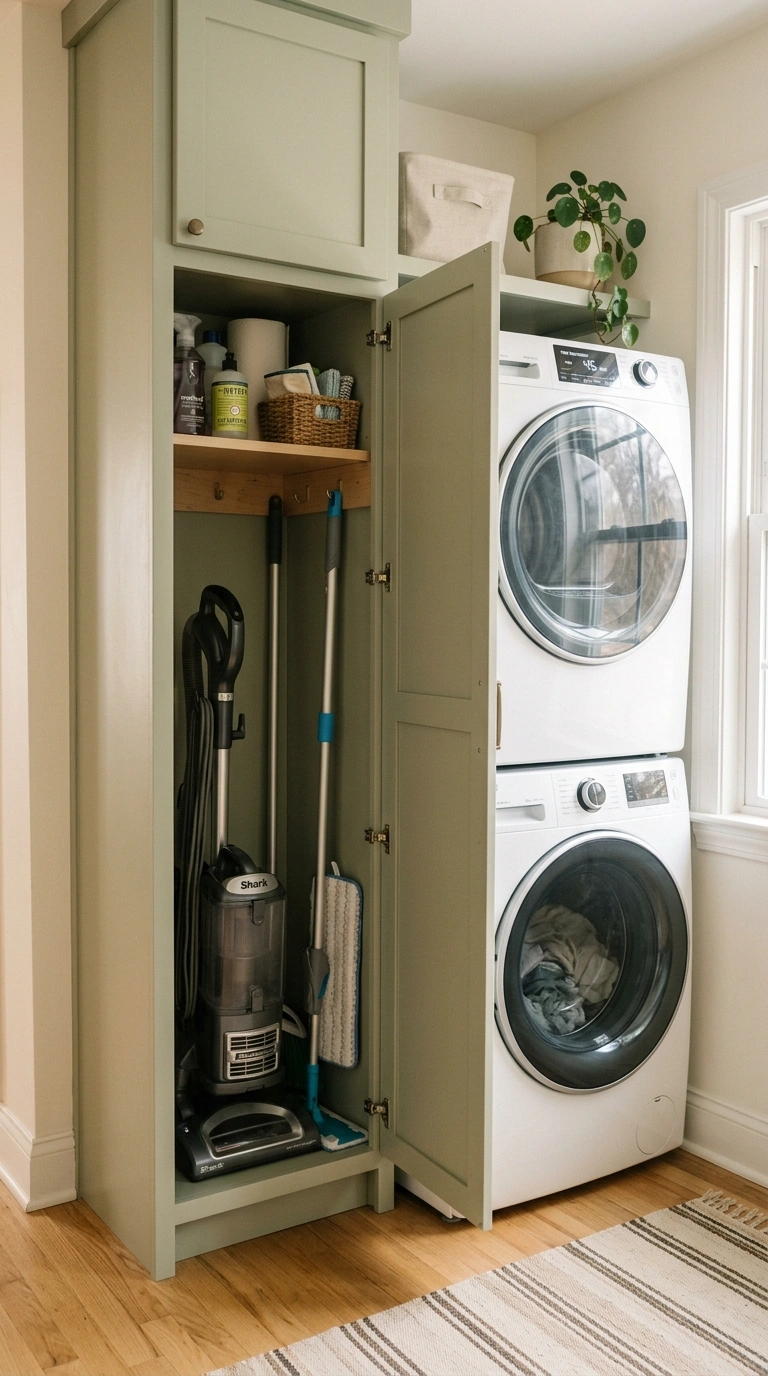
A tall, narrow cabinet installed beside the stacked machines holds a vacuum, mop, broom, and bulky cleaning supplies, keeping them contained in the same utility space as the laundry rather than scattered elsewhere in the home.
Measurement guide: allow at least 16-20 inches of width and full ceiling height for a cabinet that accommodates a standard upright vacuum or broom set.
Cost range: $300-$800 depending on height, material, and whether it’s stock or custom-built.
I’ve found that adding over-the-door cabinet organizer racks helps make the most of every inch inside a tall cleaning cabinet. They keep spray bottles, brushes, and smaller supplies easy to reach, leaving the main cabinet space open for larger tools like a vacuum or mop.
15. Ladder-Style Open Shelving
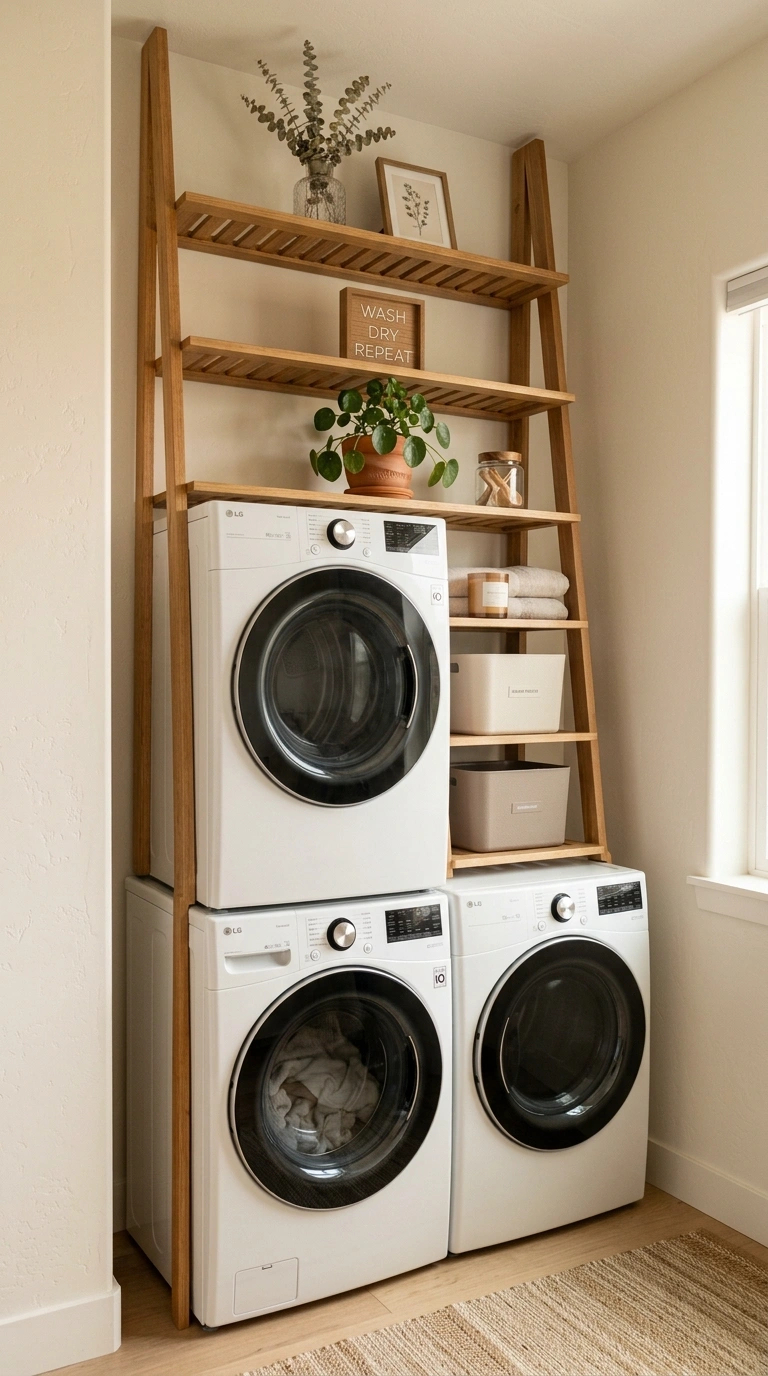
A ladder-style shelving unit, with progressively smaller shelves rising above the stacked machines, maximizes vertical display and storage while keeping a lighter visual footprint than solid, boxy shelving.
Basic DIY steps: 1. Mount a vertical support frame into wall studs on either side of the stack. 2. Attach shelves at graduated depths, wider at the bottom and narrower toward the top. 3. Style with a mix of storage bins and a few display items, like a plant or framed print, on the uppermost shelves.
Cost range: $100-$300 for a DIY ladder shelf system.
16. Built-In Drying Rod in Cabinetry
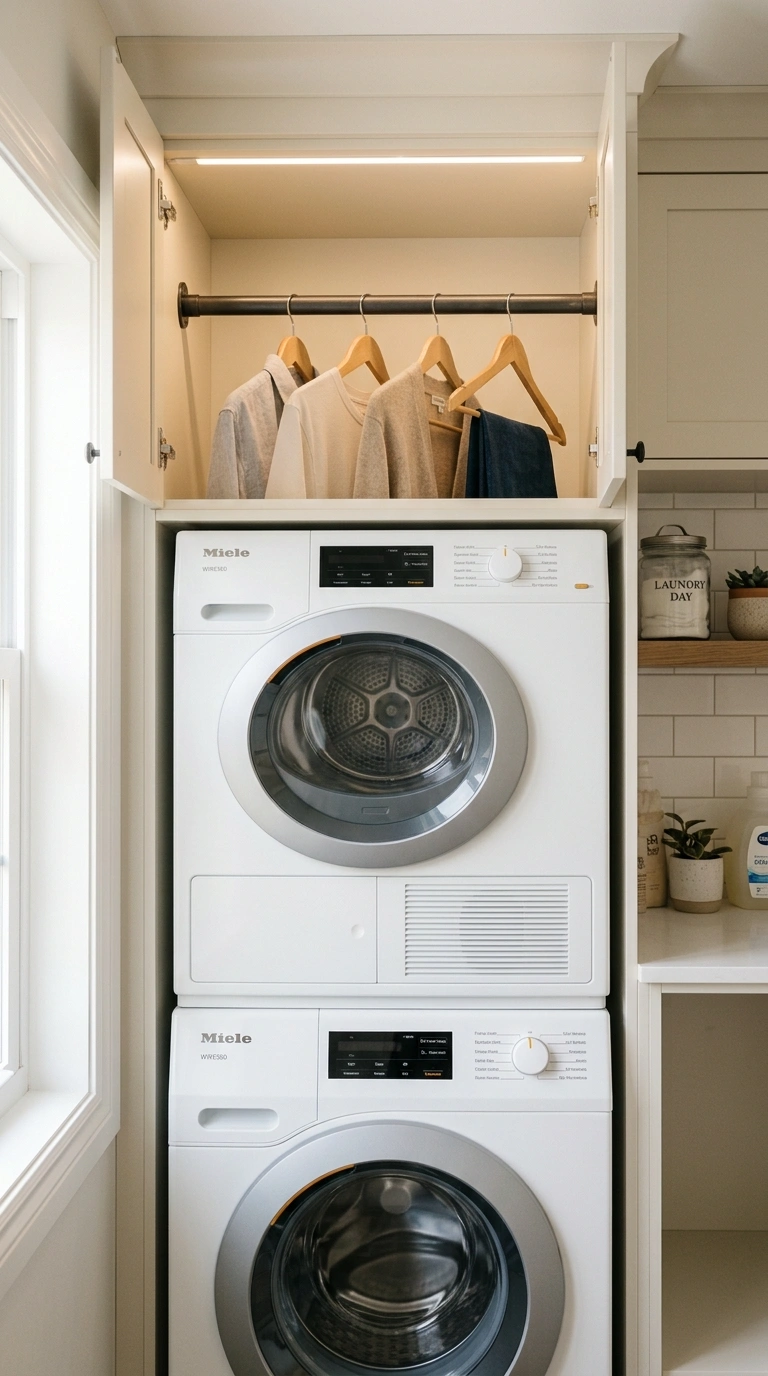
A drying rod built directly into a cabinet or shelf unit above the stacked machines, rather than a separate wall-mounted rack, keeps hang-drying capability fully integrated into the custom storage design.
Cost range: $50-$150 to add a rod and mounting brackets to existing or planned cabinetry above the stack.
Install note: position the rod with at least 24-30 inches of clearance below it for hanging garments to hang freely without touching the machines or counter below.
17. Combo Shelf-and-Rod Unit
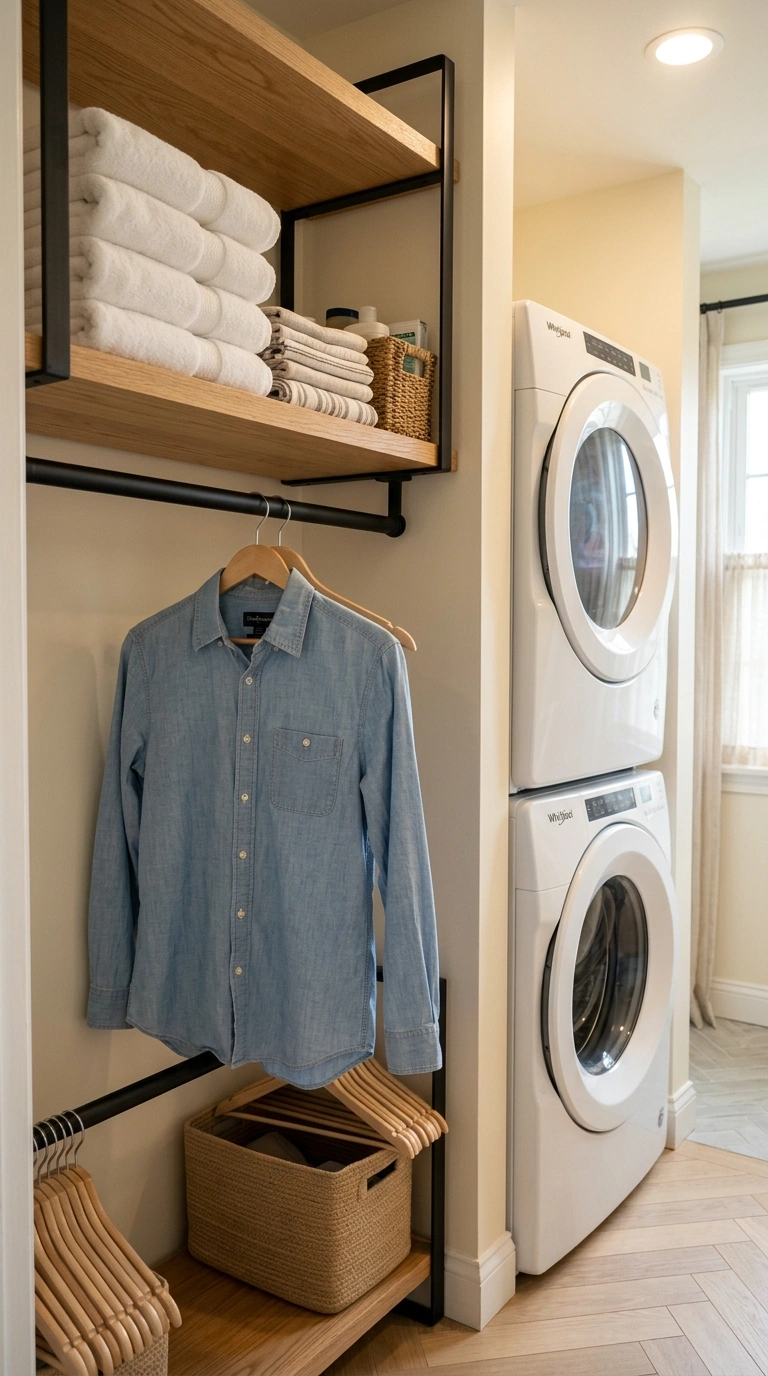
A single unit combining an open shelf with an integrated hanging rod underneath solves both flat storage and hang-drying needs in one piece of furniture beside the stacked machines.
| Tier | What You Get | Approx. Cost |
| Budget | Basic wire shelf-and-rod combo | $40-$90 |
| Mid-Range | Wood shelf with metal rod, better finish | $100-$200 |
| Investment | Custom-built combo unit matching cabinetry | $250-$500 |
18. Under-Stairs Custom Stack Nook
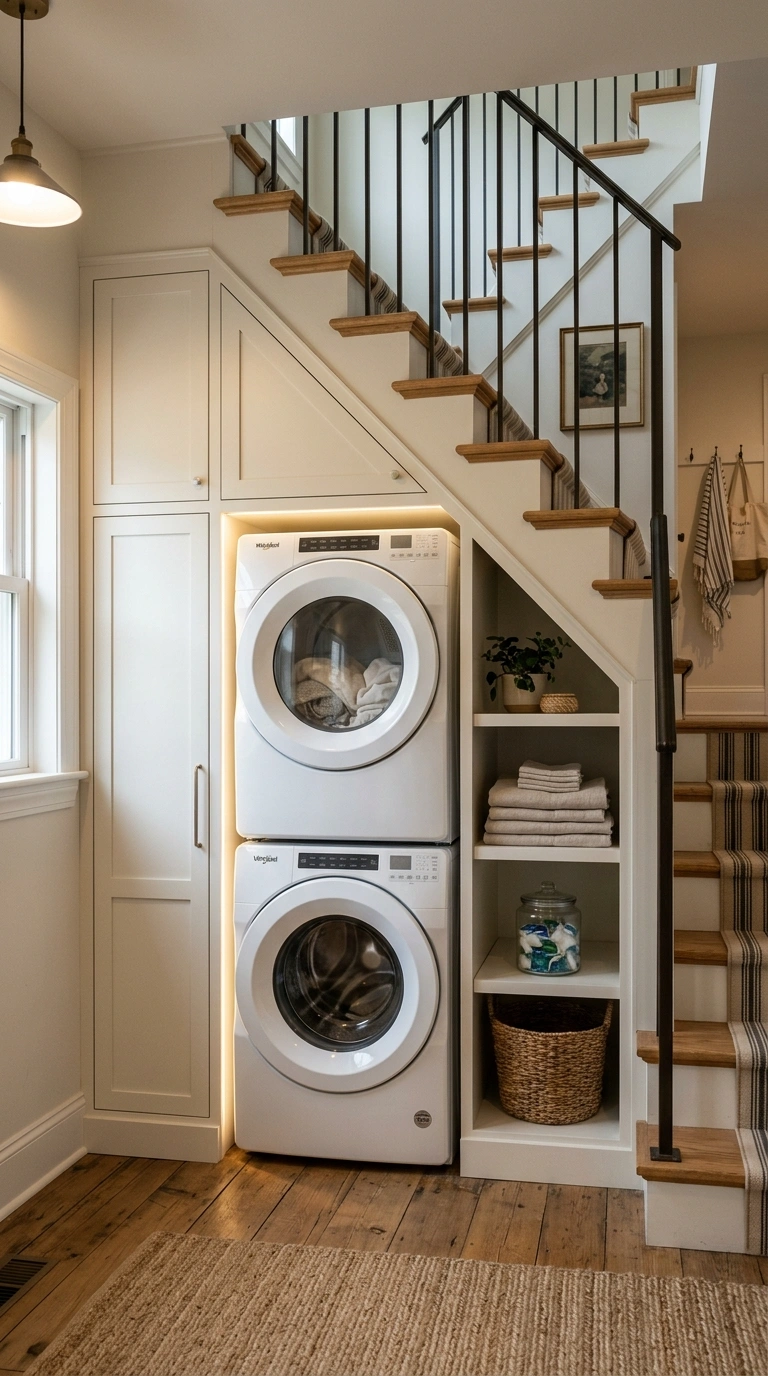
Tucking a stacked washer and dryer into the space beneath a staircase, with custom millwork built to the stair’s angled ceiling line, turns genuinely awkward, otherwise-wasted space into a functional laundry nook.
Feasibility checklist: – [ ] Measure the tallest point of the under-stair space; most stacked units need at least 74-78 inches of clearance at the front – [ ] Confirm ventilation and hookups can be routed to this location without excessive cost – [ ] Plan custom shelving that follows the sloped ceiling line toward the back of the space, where full height isn’t available
Cost range: $2,000-$6,000+ depending on the extent of custom millwork and utility rerouting required.
19. Floating Display Shelf Above the Stack
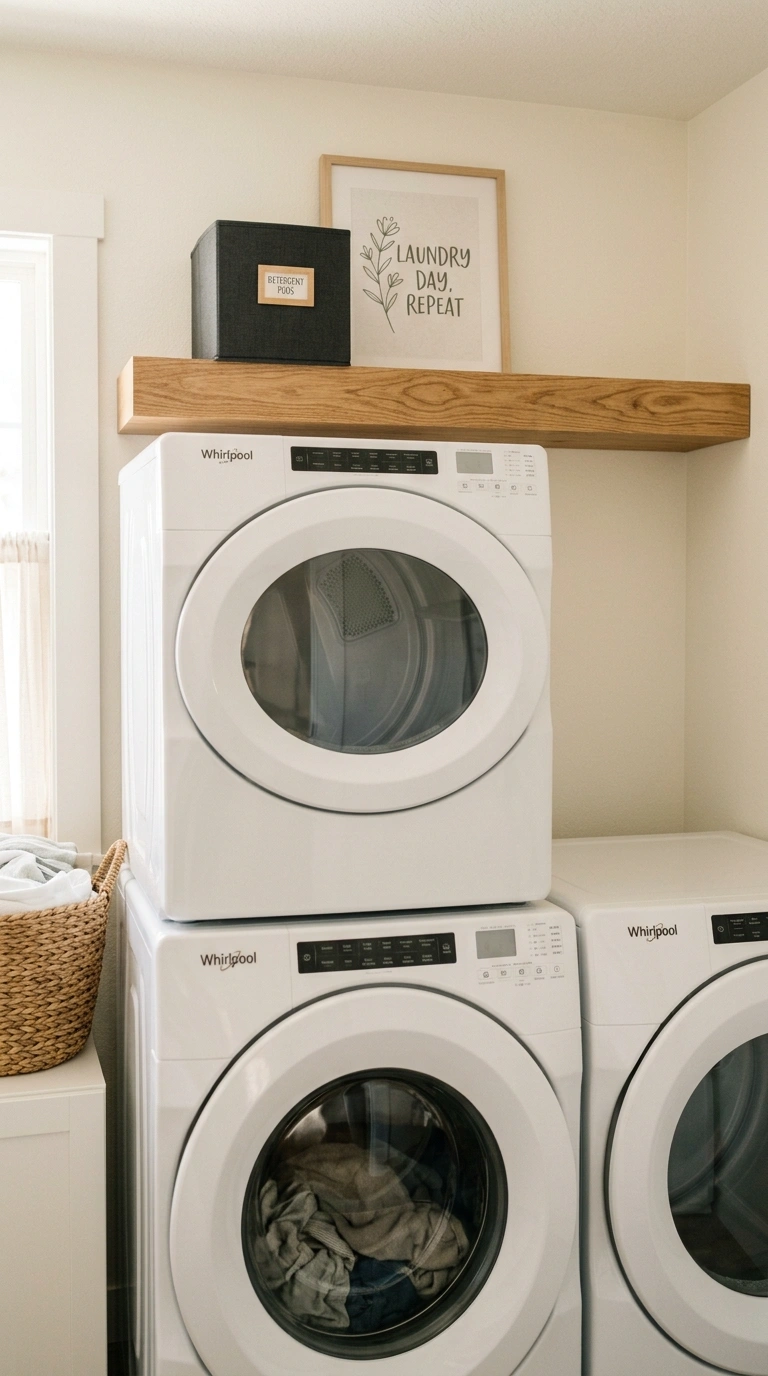
A single floating shelf above the stacked machines, styled with a few decorative and functional items, adds personality without the bulk of a full cabinet or shelving system.
Styling checklist: – [ ] One functional item, like a small labeled bin for stray socks – [ ] One decorative item, like a small plant or framed print – [ ] Leave roughly 40% of the shelf empty so it reads as styled, not crowded
Cost range: $30-$90 for the shelf and brackets.
20. Modular Add-On Storage Tower
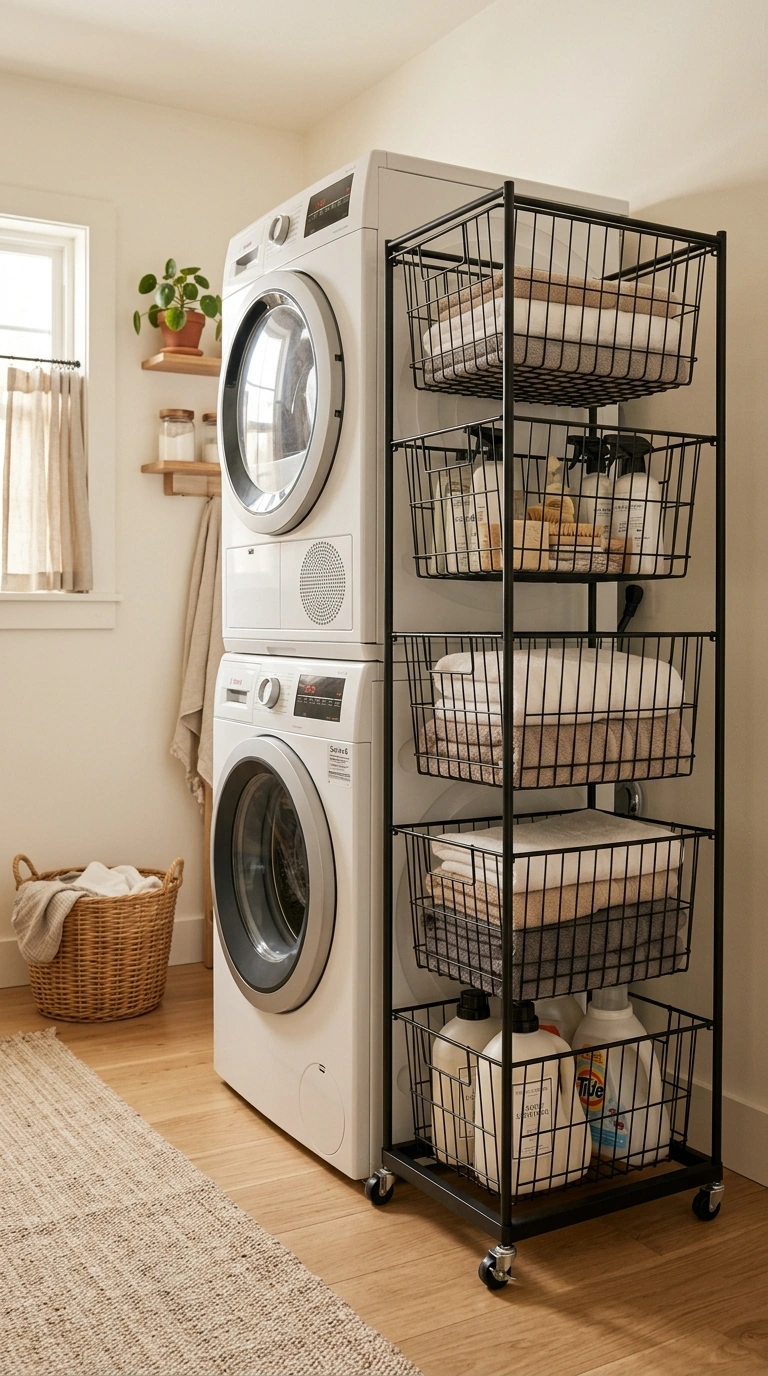
A freestanding modular storage tower, positioned beside the stacked machines rather than built into the wall, offers flexible storage that can be reconfigured or moved if your needs change, without any permanent installation.
| Option | Flexibility | Approx. Cost |
| Built-in custom cabinetry | Fixed, permanent | $1,200-$5,000+ |
| Modular freestanding tower | Fully reconfigurable, movable | $80-$250 |
The modular option is worth considering first if you’re renting, planning to move within a few years, or simply not ready to commit to a permanent built-in system.
One thing I always reach for is a modular cube storage organizer because it can change with your space over time. You can rearrange the sections as your storage needs shift, making it easy to keep laundry essentials tidy without committing to built-in cabinetry.
Conclusion
Pick 2-3 setups that solve your laundry room’s biggest daily frustration first, whether that’s hiding the machines, adding folding space, or organizing supplies, before committing budget to a full custom build. The stacked configuration itself already solved your floor space problem; the storage built around it is what determines whether the room actually functions well day to day.
Save your favorite stackable laundry room setups to Pinterest so you have them ready when you’re ready to plan your own space.
FAQs
What’s the difference between a laundry closet and a stackable laundry room setup?
A general laundry closet idea solves basic space constraints, while a stackable laundry room setup specifically designs custom storage, like cabinetry, shelving, or pull-out drawers, around the exact footprint and height of a stacked washer and dryer.
Is it worth paying extra for panel-ready appliances?
If the laundry area is visible from a kitchen, mudroom, or open living space, panel-ready appliances with matching cabinetry fronts create a noticeably more cohesive, built-in look than standard visible machines.
What’s the most budget-friendly custom storage option for a stacked washer and dryer?
Open shelving flanking the stack and a modular freestanding storage tower are among the lowest-cost options on this list, both achievable for under $250 total.
Does raising a washer on a pedestal actually make a difference?
Yes. Raising a front-loading washer by 12-15 inches meaningfully reduces the bending needed to load and unload laundry, which adds up over years of daily use, in addition to the extra drawer storage most pedestals include.
Can a stacked laundry setup fit under a staircase?
Yes, as long as the tallest point of the under-stair space offers at least 74-78 inches of clearance at the front, with custom shelving designed to follow the sloped ceiling line toward the back.