23 Keurig Coffee Station Ideas That Keep Your Kitchen Organized

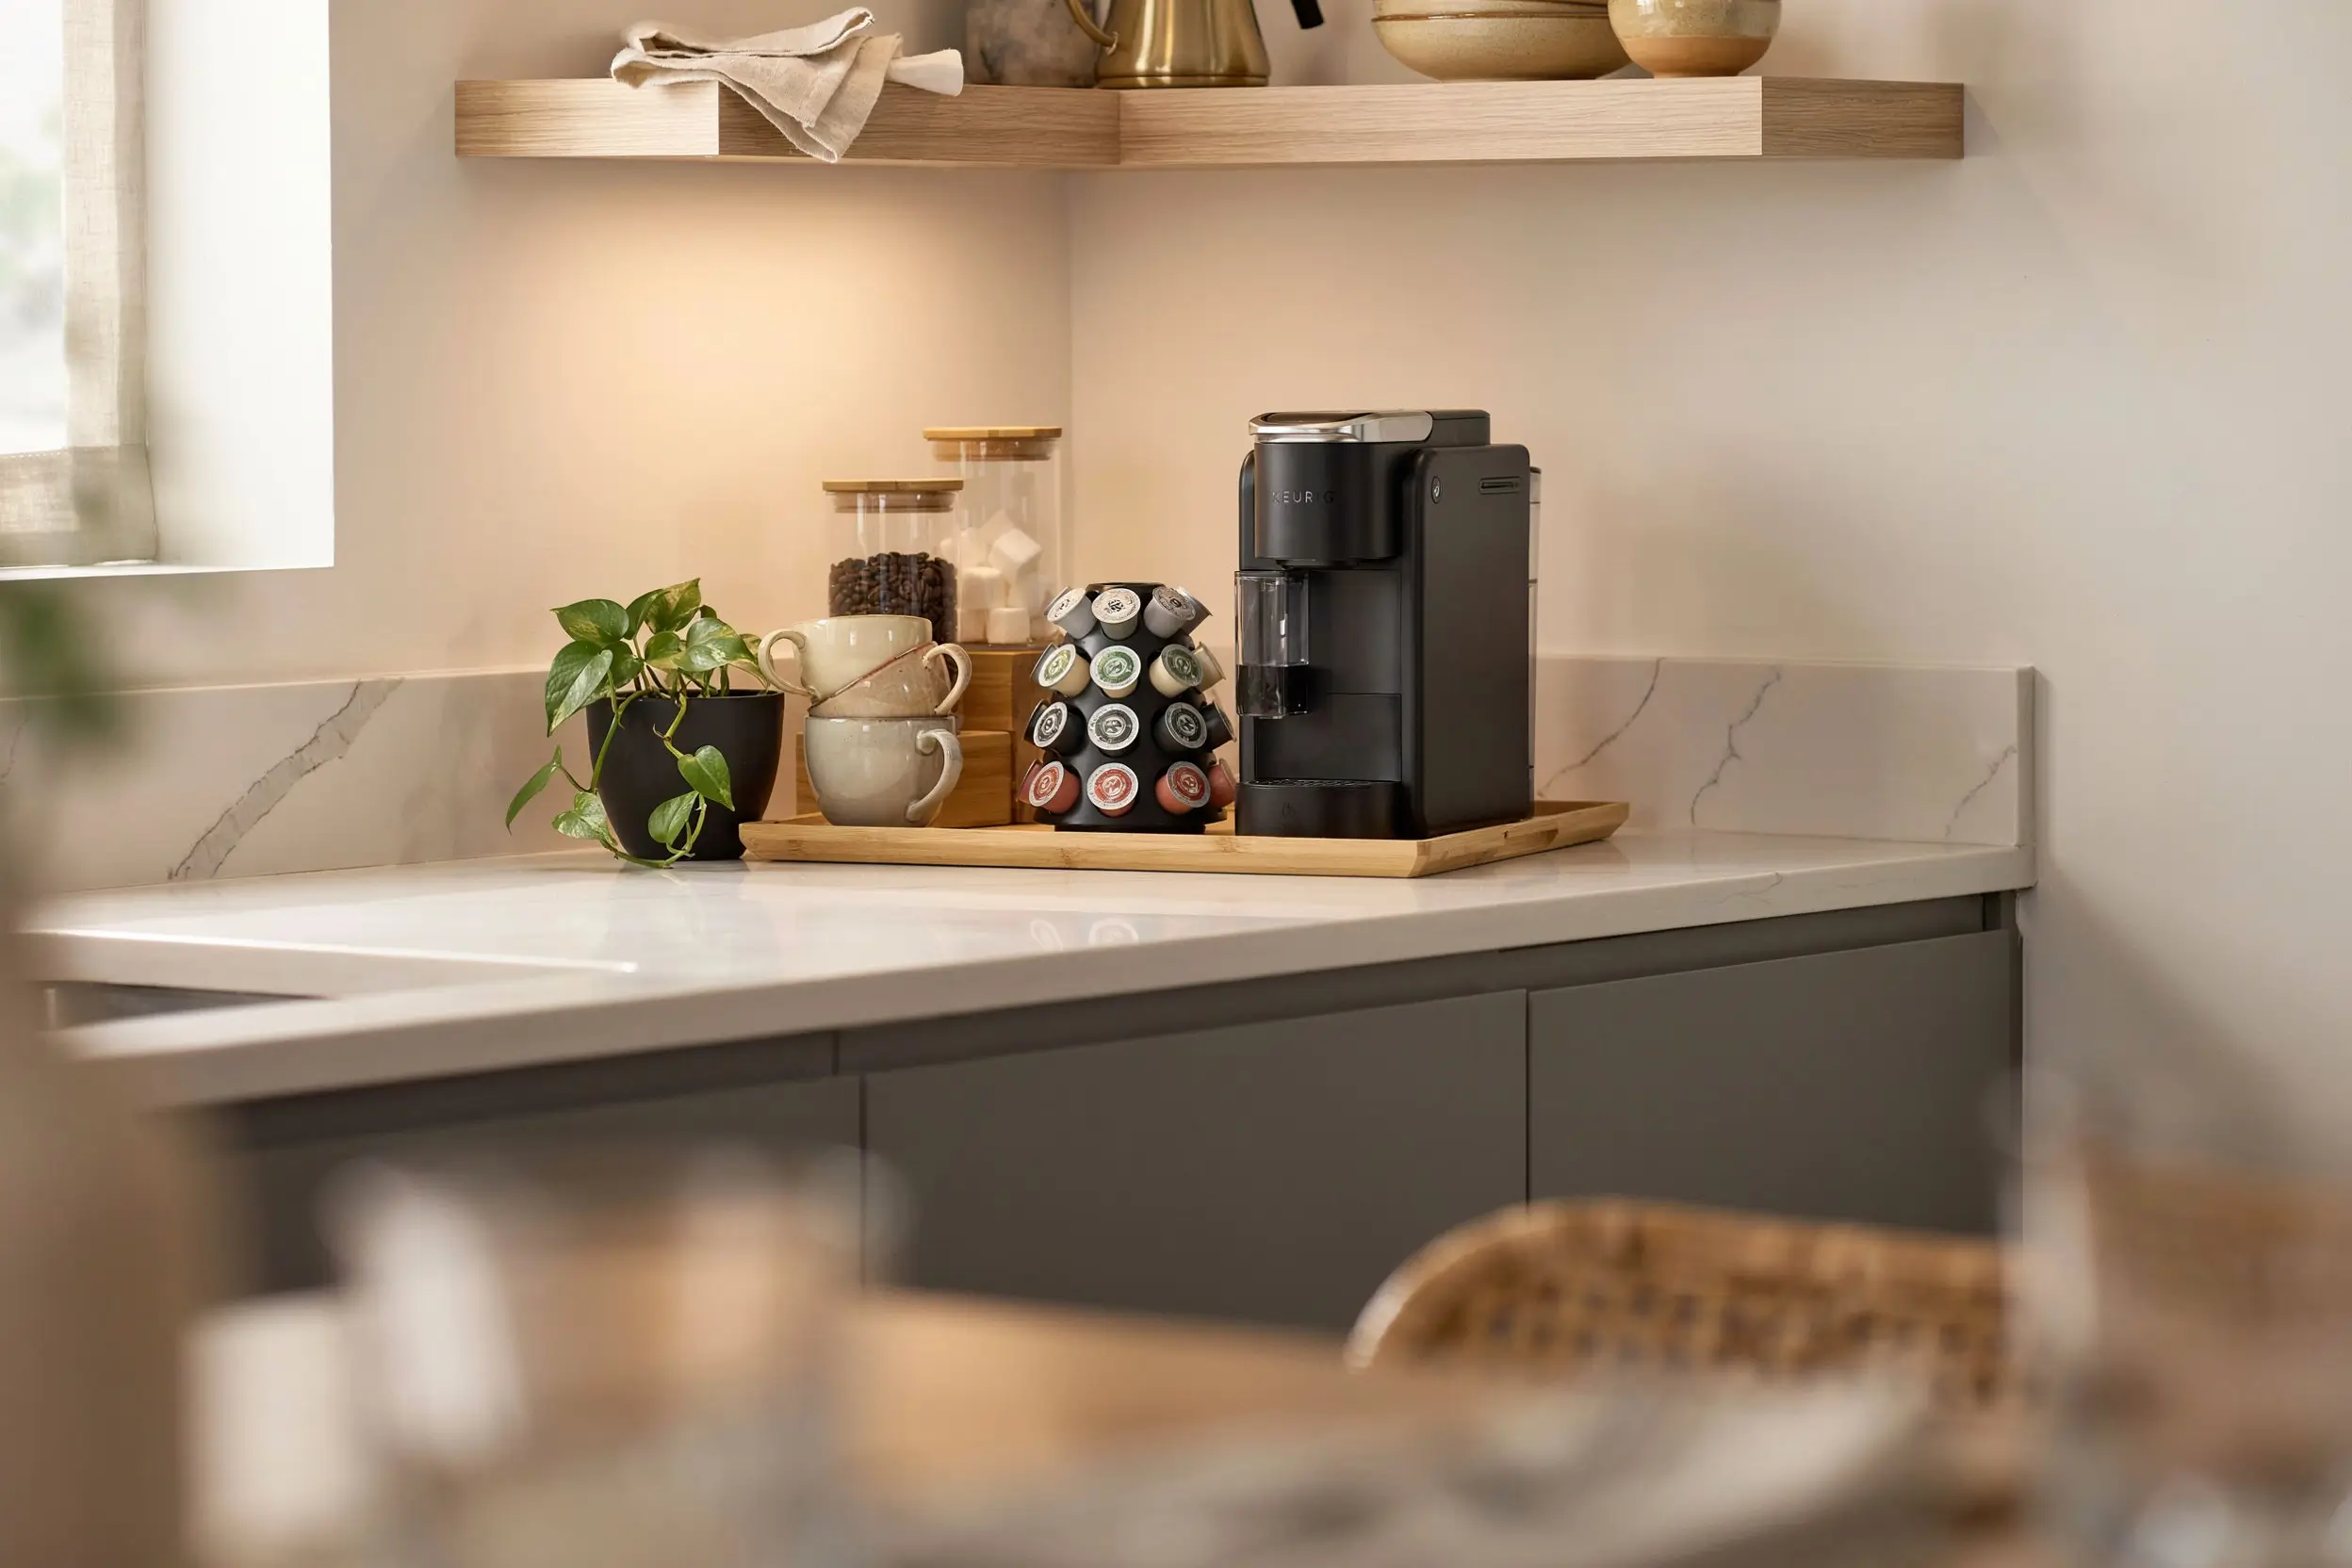
A Keurig station gets cluttered for a predictable reason: pods pile up loose, the machine sits too close to the cabinet above to open, and nobody remembers when the filter was last changed. These 23 Keurig coffee station ideas solve the actual logistics first, real clearance measurements, pod storage capacities, and Keurig’s own maintenance schedule, then layer in the styling that makes the station look intentional instead of accidental.
Know Your Machine’s Footprint and Clearance First
Keurig machines vary more in size than people expect, and the lid needs real vertical room to open, not just enough space for the machine to sit under a cabinet.
| Machine Type | Typical Footprint | Clearance Needed to Lift Lid | Reservoir Size |
| Compact (K-Mini, K-Mini Plus) | ~5″ x 11″ x 11″ | ~14″ | None; fill each brew, about 12 oz |
| Standard (K-Classic, K-Select) | ~13″ x 13″ x 10″ | ~13–14″ | 48 oz |
| Large-reservoir (K-Elite, K-Supreme, K-Café) | ~13″ x 10″ x 13″ | ~13″ | Larger multi-cup reservoir |
Pod Storage Options by Capacity
| Organizer Type | Typical Capacity | Best For |
| Compact carousel | 20–24 pods | Tight counters, one or two flavors |
| Standard carousel or drawer | 36–42 pods | Most households |
| Two-tier drawer organizer | Up to 72 pods | Multiple flavors, bulk buying |
| In-drawer insert | 18–30 pods | Hiding pods entirely from counter view |
1. Leave Real Clearance Above the Machine to Lift the Lid
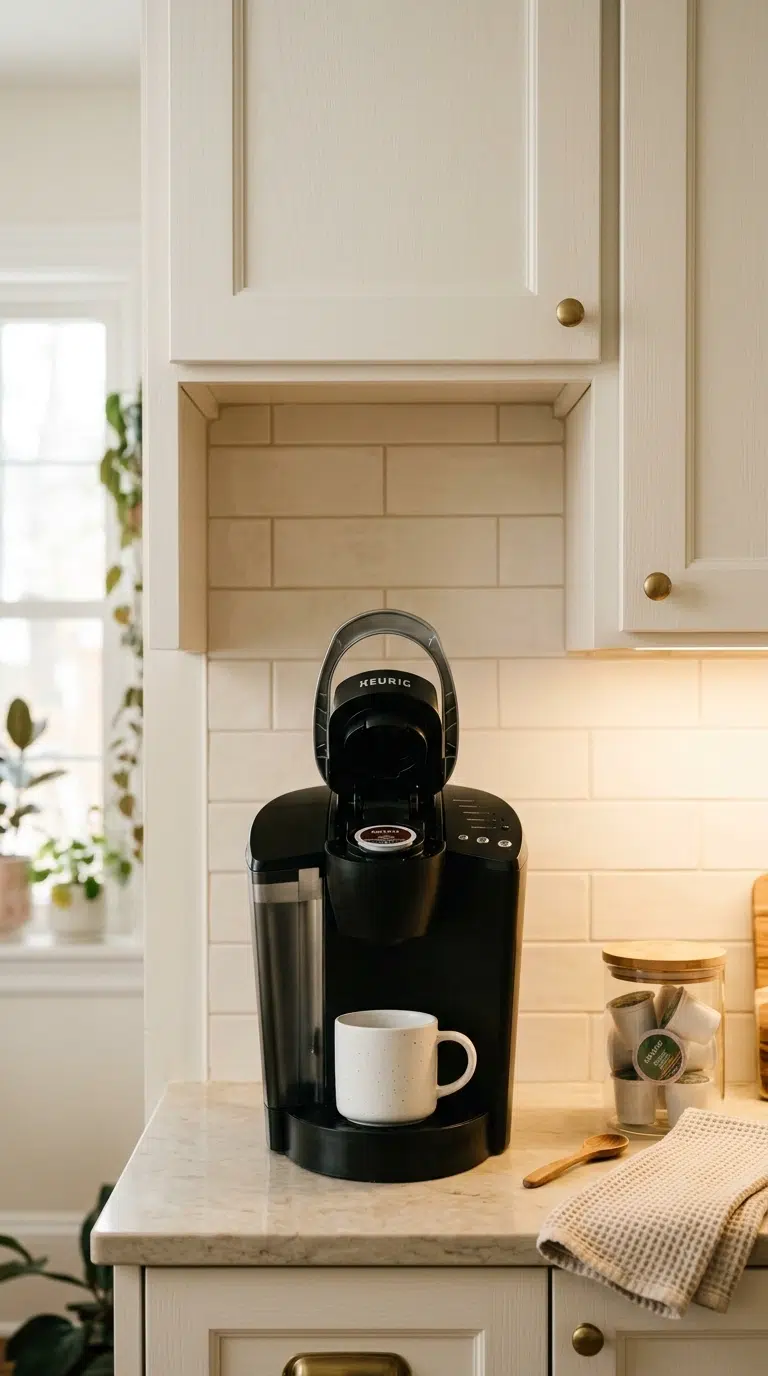
Even compact models like the K-Mini need roughly 14 inches of clearance above the machine to fully lift the lid and insert a pod, and standard models need about the same.
Placing a Keurig directly under an upper cabinet is the single most common coffee station mistake, since the machine fits fine sitting still but becomes unusable the moment you try to load a pod.
If you’re shopping for a new machine and your available clearance is tight, compact models like the K-Mini have a shorter lid-open height than standard or large-reservoir models, which makes them the safer pick for a shelf with a low cabinet above it.
Quick tip: Measure from your counter to the bottom of the cabinet above before buying a machine, not after, since a few inches too little makes a beautiful setup nonfunctional.
2. Elevate the Machine on a Riser to Reclaim Storage Underneath
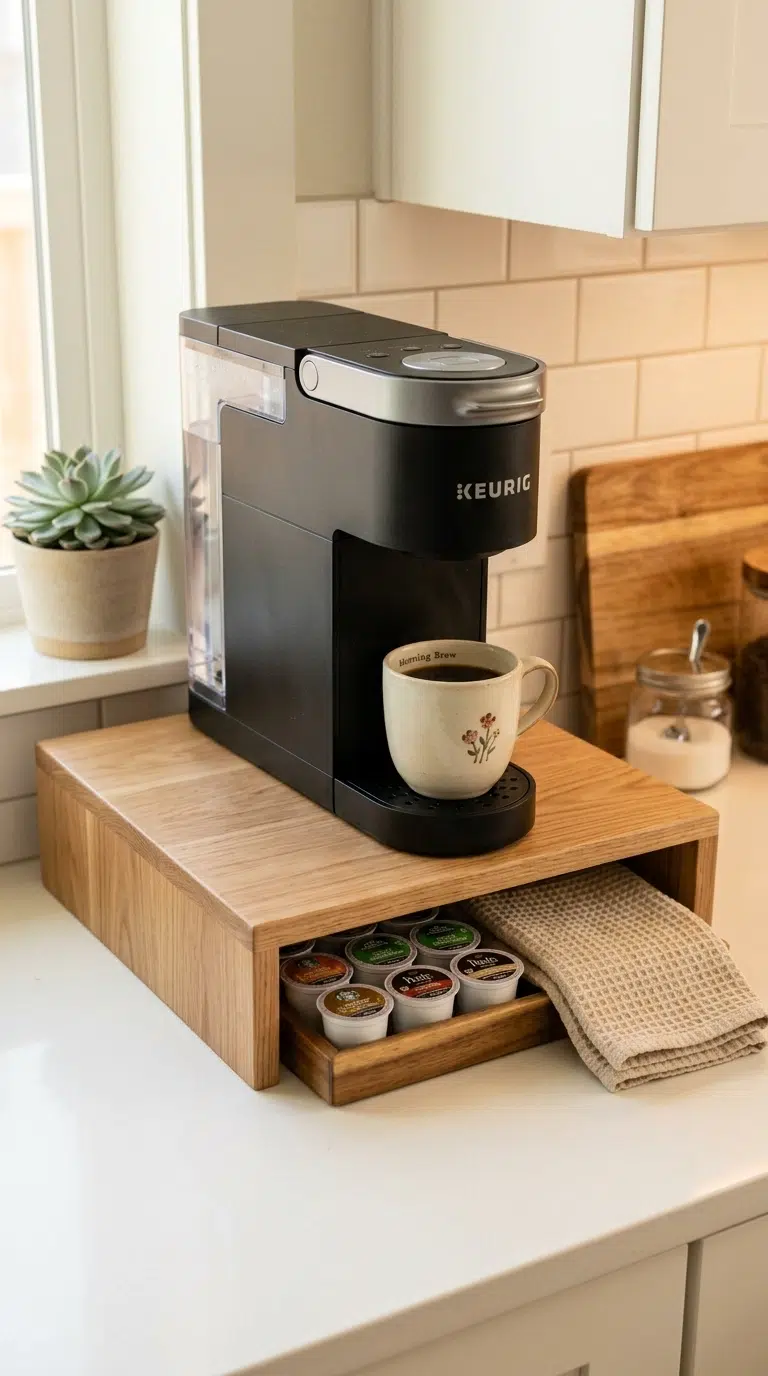
A simple wood or wire riser lifts the Keurig a few inches, opening up space underneath for a shallow tray of pods, a small towel, or the descaling solution bottle.
This works especially well with the compact K-Mini models, which have no built-in reservoir and need to sit close to where you’ll refill them anyway.
A riser also makes the machine’s control buttons and pod slot easier to reach without bending, which matters more than it sounds like for anyone who uses the station multiple times a day.
Quick tip: Choose a riser rated for at least 15–20 pounds; most standard Keurig machines weigh 8–10 pounds empty, more once the reservoir is full.
One thing I always reach for in small coffee stations is a wooden countertop riser because it adds storage without taking up more counter space. The extra room underneath is useful for keeping pods or cleaning supplies together, and the station feels much more organized every day.
3. Use a Rotating Carousel for Grab-and-Go Pod Access
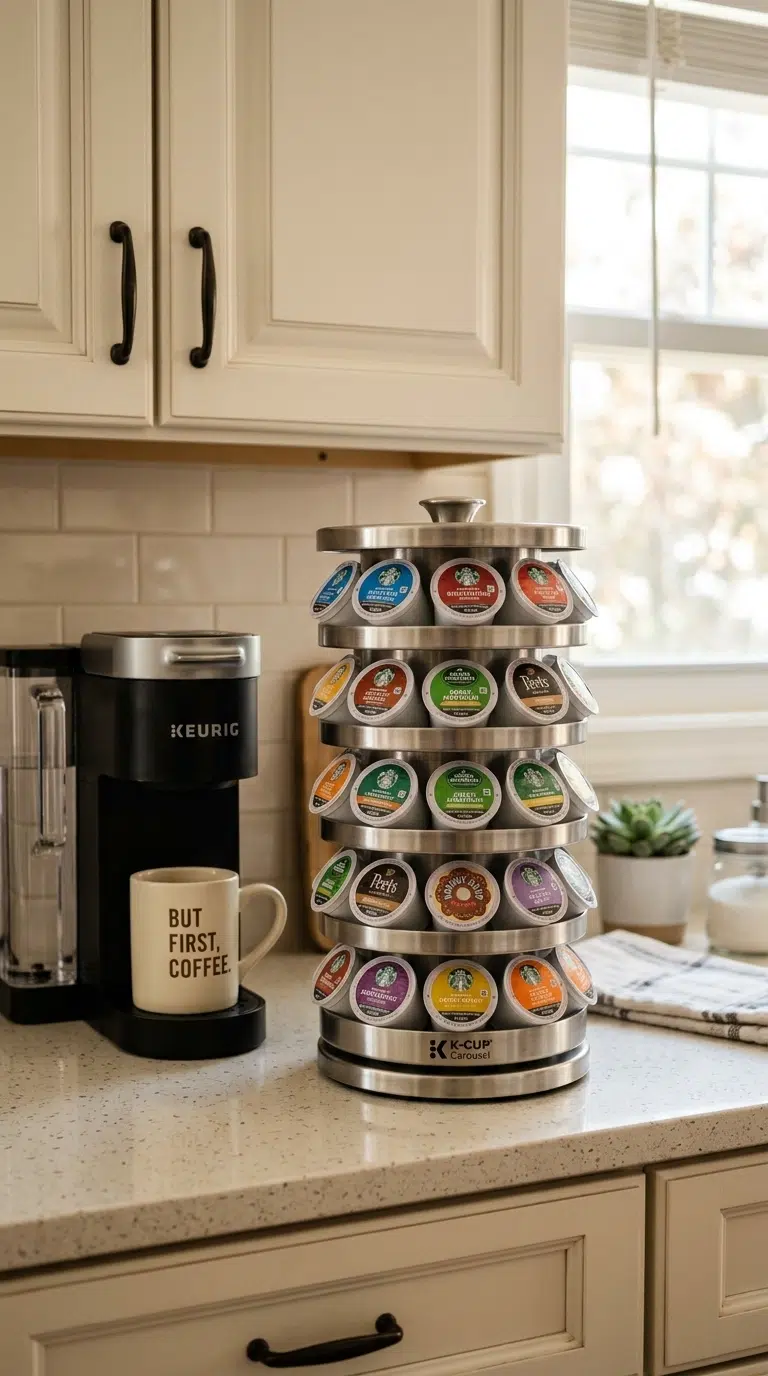
A rotating carousel holding 20 to 40 pods keeps every flavor visible and accessible with a quarter turn, which beats digging through a box or bag for a specific roast every morning.
Compact carousels have a small footprint, often around 6 inches square, making them a reasonable fit even on a narrow counter beside the machine.
Clear plastic carousels let you see remaining pod count and flavor at a glance without spinning the whole unit, which helps when you’re restocking a grocery list based on what’s actually running low rather than guessing.
Quick tip: Match the carousel’s capacity to how many pods you actually keep on hand; an oversized carousel that’s half empty looks less organized than a right-sized one that’s full.
I like using a rotating coffee pod carousel because it keeps every flavor easy to see instead of tucked inside a box. A quick turn is usually all it takes to grab the one you want, and the counter feels much neater throughout the week.
4. Convert a Drawer Into a Dedicated Pod Organizer
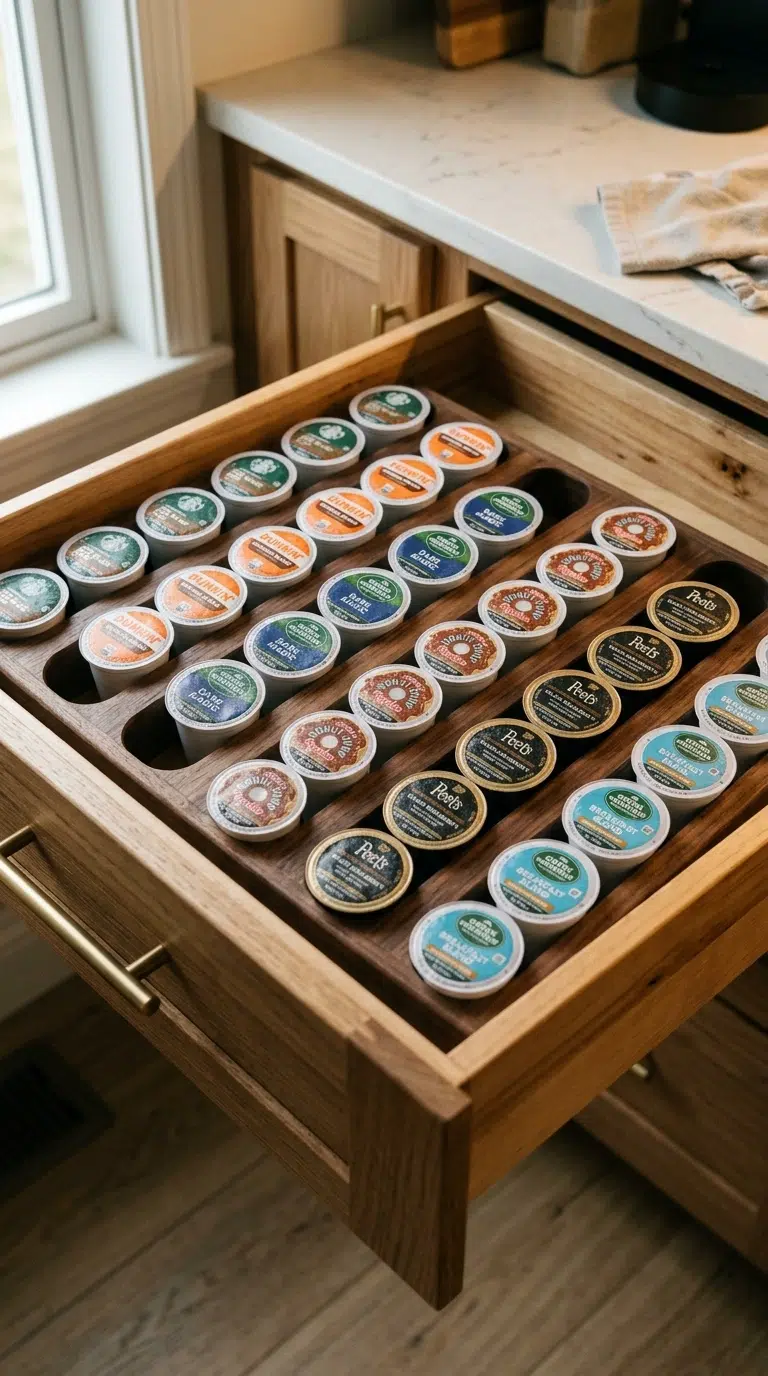
A drawer insert sized for K-Cups, typically holding 18 to 30 pods, gets every pod off the counter entirely, which is the single biggest visual difference between a cluttered station and a clean one.
Measure your drawer’s interior dimensions before ordering an insert; most inserts are sized for standard 15- to 20-inch kitchen drawers and won’t fit a narrow utensil drawer.
Look specifically for organizers with a shallow lip on each divider rather than flat slots, since pods without a lip tend to slide out of alignment every time the drawer opens and closes.
Quick tip: Sort by roast or flavor within the insert’s rows so mornings don’t start with a search through unsorted pods.
5. Mount a Wall Dispenser to Get Pods Off the Counter Entirely
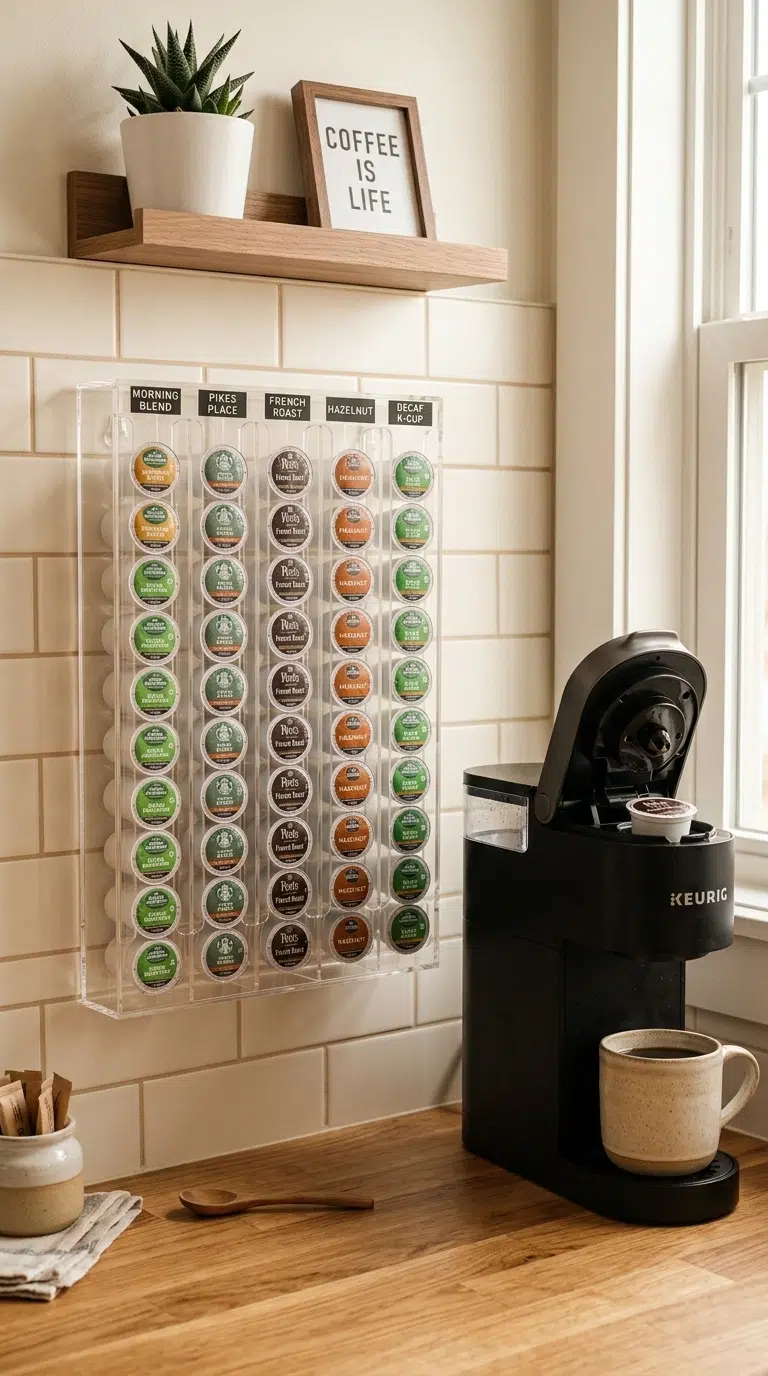
A wall-mounted pod dispenser stores pods vertically against the backsplash, freeing up the entire counter surface around the machine for anything else.
This works best directly above or beside the machine, within arm’s reach, so the convenience of a countertop carousel doesn’t get traded away for a few inches of extra space.
Command-strip-mounted dispensers work on smooth painted drywall, but a tiled backsplash usually needs a drilled anchor instead, since adhesive strips don’t bond reliably to grout lines or textured tile.
What to avoid: Don’t mount a wall dispenser directly above the machine’s steam or water fill area. Even small amounts of condensation over time can warp cardboard pod boxes or affect adhesive-mounted units.
6. Add a Mug Rail Under the Cabinet Above
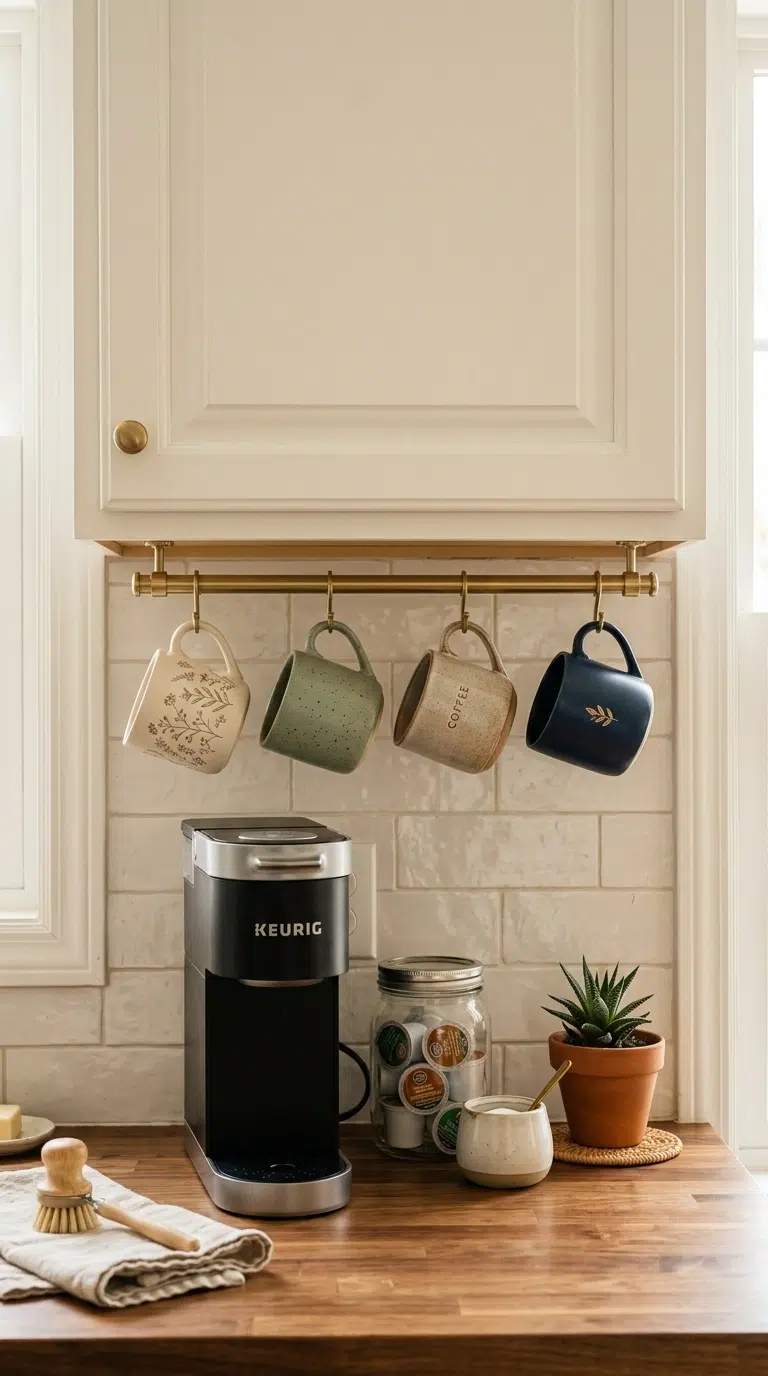
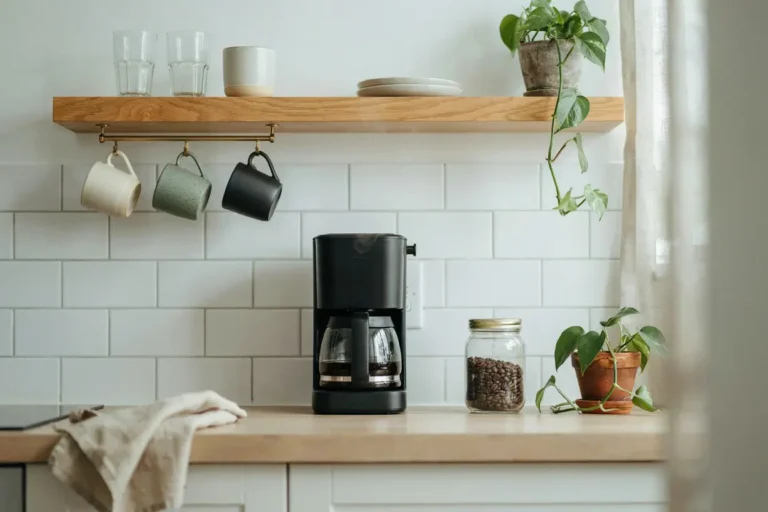
A slim mug rail mounted to the underside of an upper cabinet hangs mugs by the handle, keeping them within reach of the machine without using any counter or cabinet shelf space.
This is especially useful in small kitchens where a mug tree would take up counter footprint the station can’t spare.
Check the rail’s total weight rating before hanging more than four or five mugs; most slim under-cabinet rails top out around 10–15 pounds combined, roughly four to six standard ceramic mugs.
Quick tip: Space hooks at least 3 inches apart so mugs with wider handles don’t collide when hanging side by side.
I’ve found that an under-cabinet mug hook rail helps free up valuable counter space while keeping favorite mugs close to the coffee maker. It also adds a simple decorative touch that makes the station feel more finished without adding clutter.
7. Corral the Whole Station on One Tray for Easy Wipe-Downs
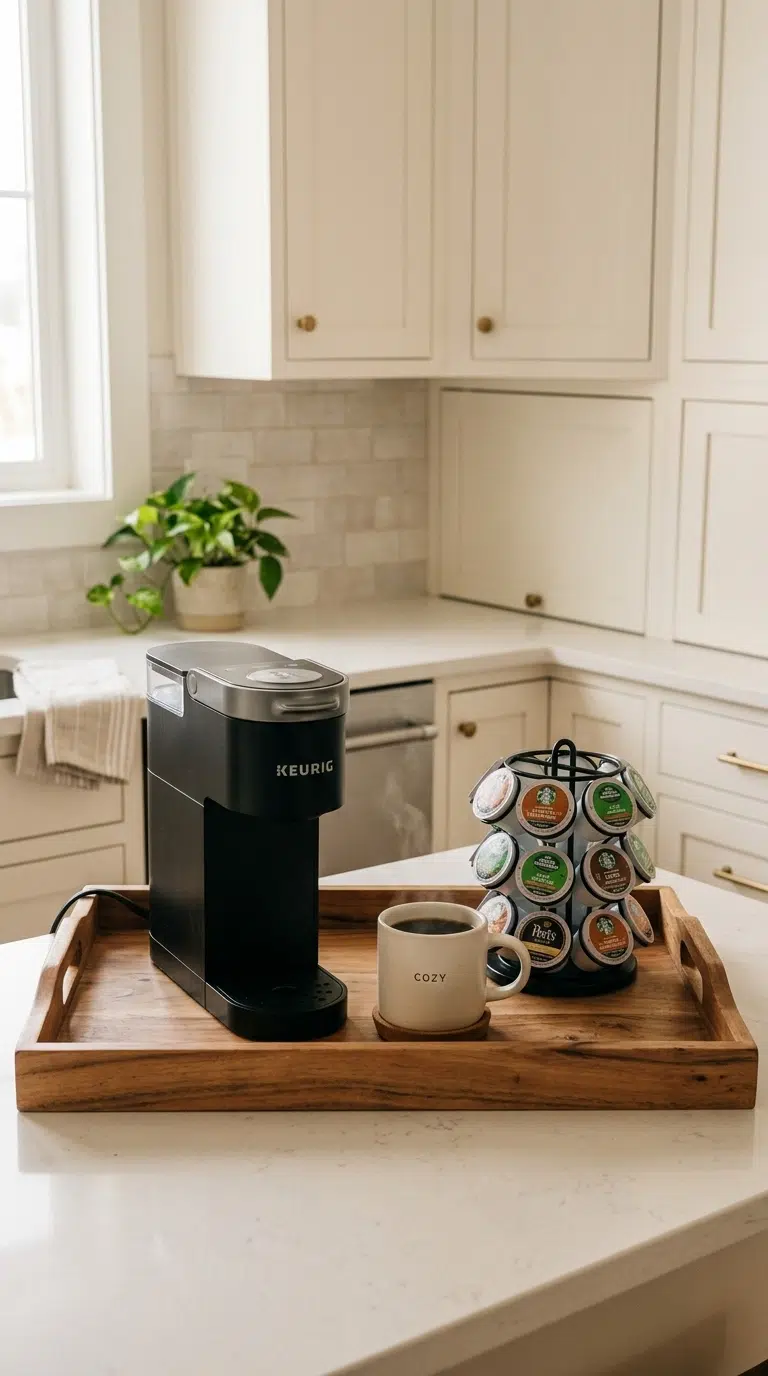
A single large tray under the machine, pod holder, and mug catches drips and coffee grounds in one contained spot, so daily cleanup means wiping one tray instead of the whole counter.
Choose a tray with a slight raised lip, since Keurig machines occasionally overflow or drip during brewing, especially right after descaling.
A tray also makes it far easier to move the entire station temporarily, for a deep counter clean or a kitchen rearrange, since everything lifts as one unit instead of item by item.
Quick tip: Pick a tray a few inches larger than your machine’s footprint on all sides so spills stay contained instead of running off the edge.
I like placing everything on a decorative wooden serving tray because it helps define the coffee station as one organized area. It also makes daily cleaning easier since you can wipe the tray instead of cleaning around every individual item.
8. Add a Floating Shelf Just for Coffee Station Overflow
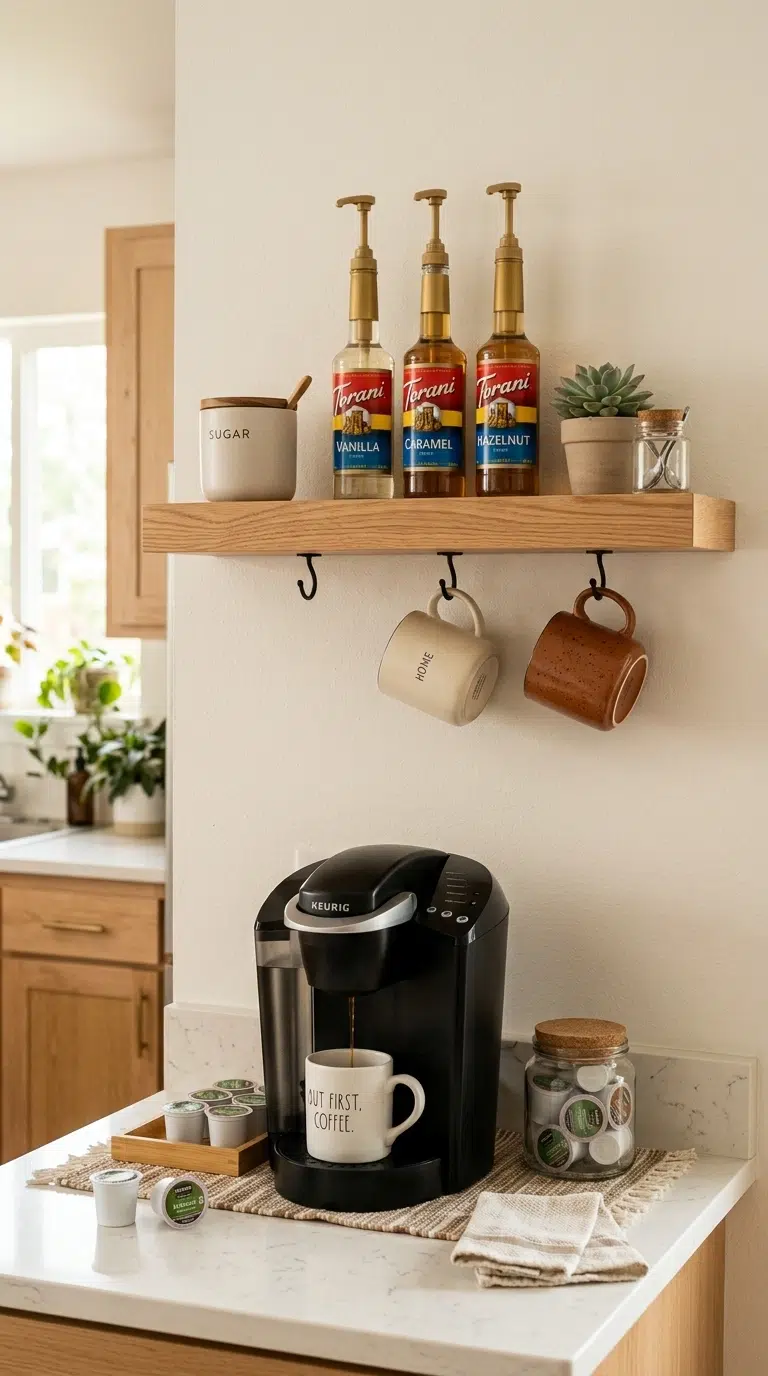
A single floating shelf mounted above or beside the station gives sugar, syrups, and extra mugs a home without expanding the station’s actual counter footprint.
Keep the shelf at least a few inches above the machine’s lid-open height if it sits directly above, so reaching up to load a pod doesn’t mean bumping your hand into the shelf.
Anchor the shelf into at least one stud if it’s holding anything beyond very light items, since a loaded coffee shelf, with mugs, canisters, and syrup bottles together, can easily reach 10–15 pounds.
Quick tip: Limit the shelf to items used daily; anything used less than a few times a week belongs in a cabinet instead, out of the way of the everyday routine.
One thing I always look for is a floating wall shelf when counter space is limited. It gives everyday mugs, syrups, or canisters a dedicated home while keeping the work surface below much more open and easier to use.
9. Use a Narrow Bar Cart as a Mobile Coffee Station
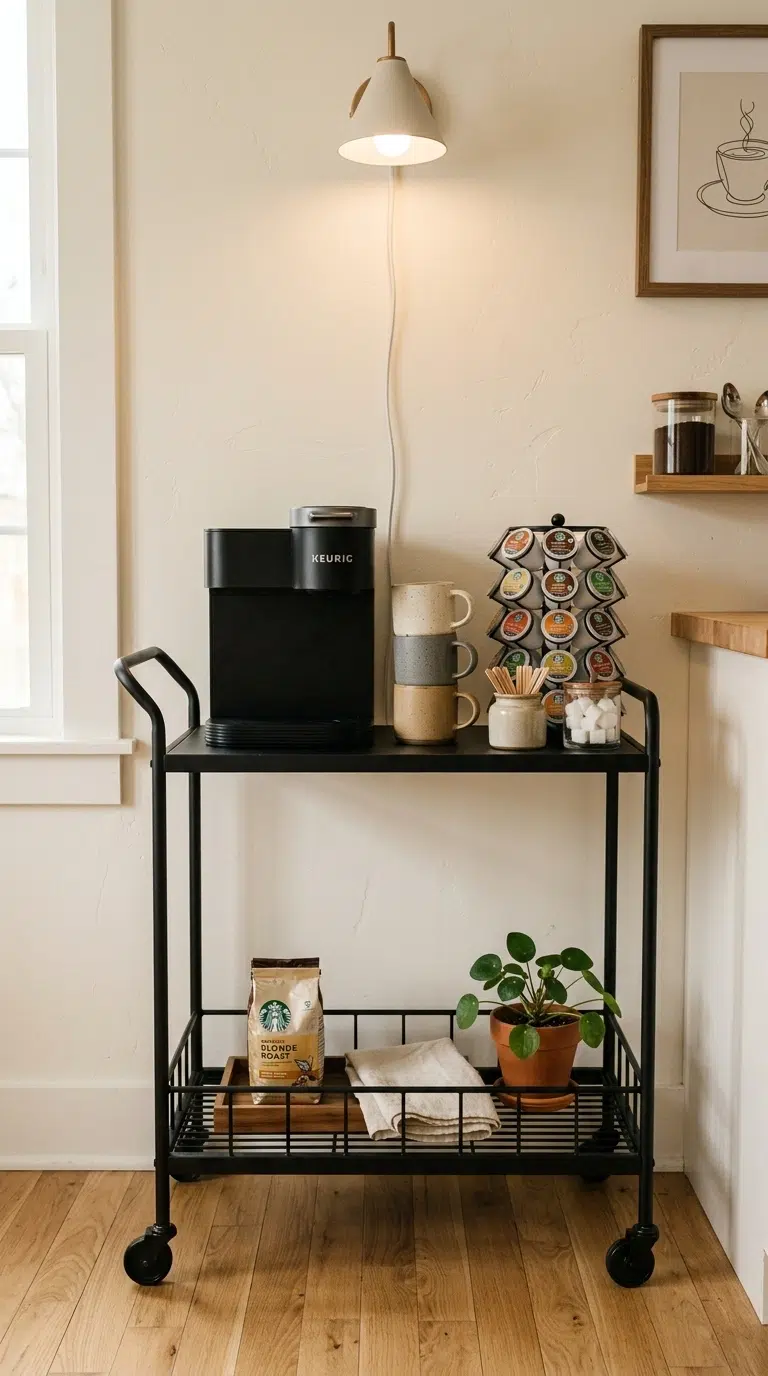
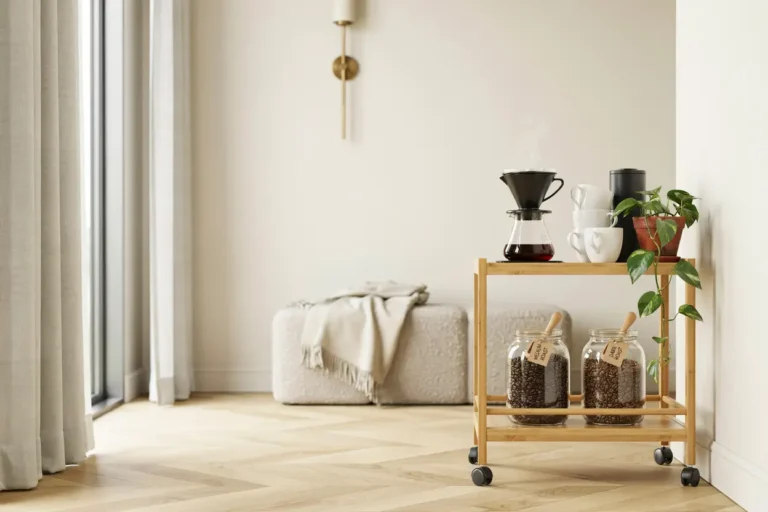
A slim bar cart, generally 12 to 16 inches deep, turns any open wall space into a coffee station without needing counter space at all, and it rolls out of the way when you need the floor space back.
This works particularly well in small apartments or studio kitchens where dedicated counter space for a coffee station simply doesn’t exist.
Look for a cart with locking caster wheels specifically, not just wheels, so the loaded cart doesn’t drift across the floor every time you reach for a mug or bump it while making coffee.
Quick tip: Choose a cart with a bottom shelf rated to hold the machine’s full weight plus a full water reservoir, generally at least 15 pounds, since flimsy carts can wobble under a loaded Keurig.
I’ve found that a slim rolling bar cart works well when counter space is hard to spare. It keeps everything together in one place and can be moved whenever you need extra room, making the coffee station feel flexible instead of crowded.
10. Add a Dedicated “Used Pod” Bin Right Next to the Machine
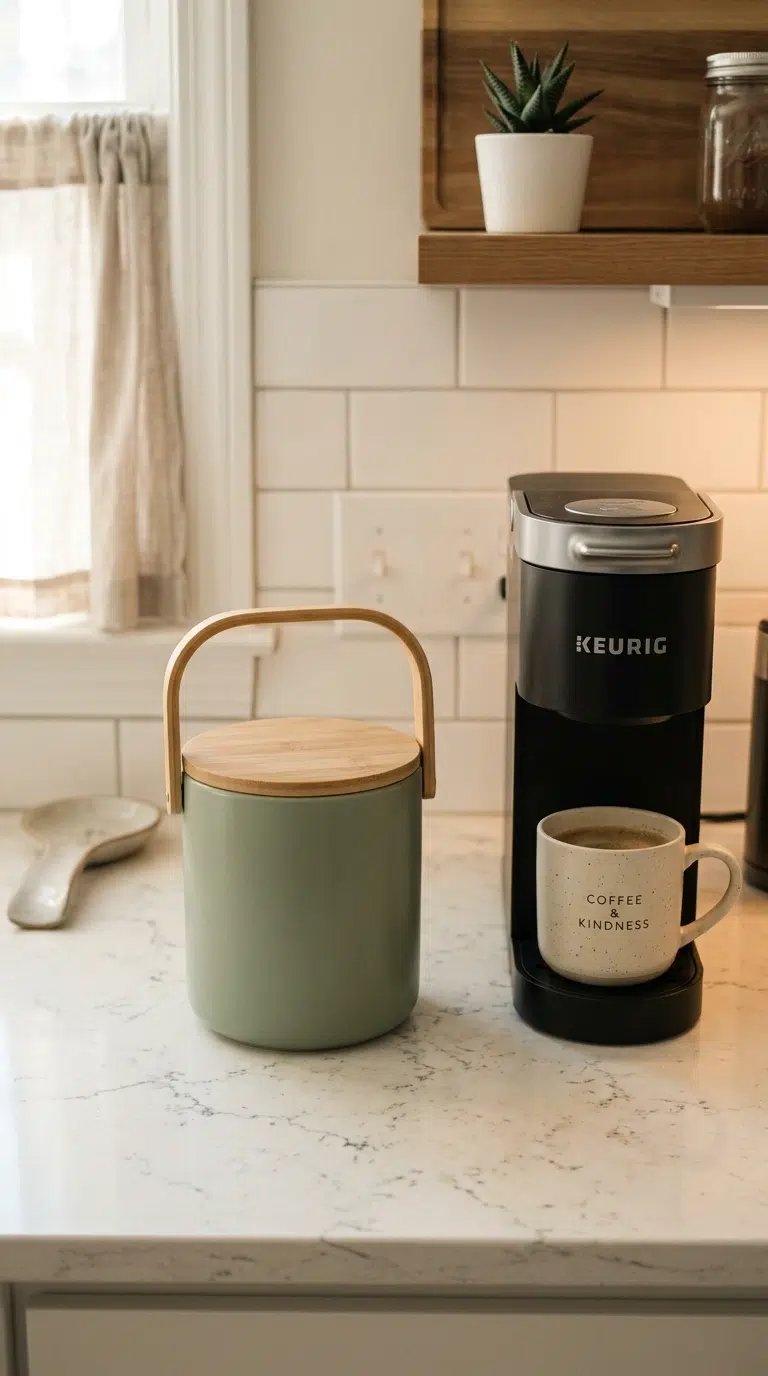
Keurig’s own maintenance guidance recommends removing used pods once they’ve cooled, but that only happens consistently if there’s an obvious, close bin to toss them into.
A small lidded bin sized for K-Cups keeps the used-pod smell contained better than an open dish, and empties in seconds compared to picking pods out of a shared kitchen trash can.
A bin with a flip-top or swing lid empties into the trash in one motion, which helps keep this step from becoming the one habit that quietly stops happening once the novelty of a new station wears off.
Quick tip: Empty the used-pod bin daily rather than letting it fill completely; K-Cups left sitting for days can start to smell, especially with flavored or dark roast grounds.
11. Label a Small Bin for Spare Water Filters With the Next Change Date
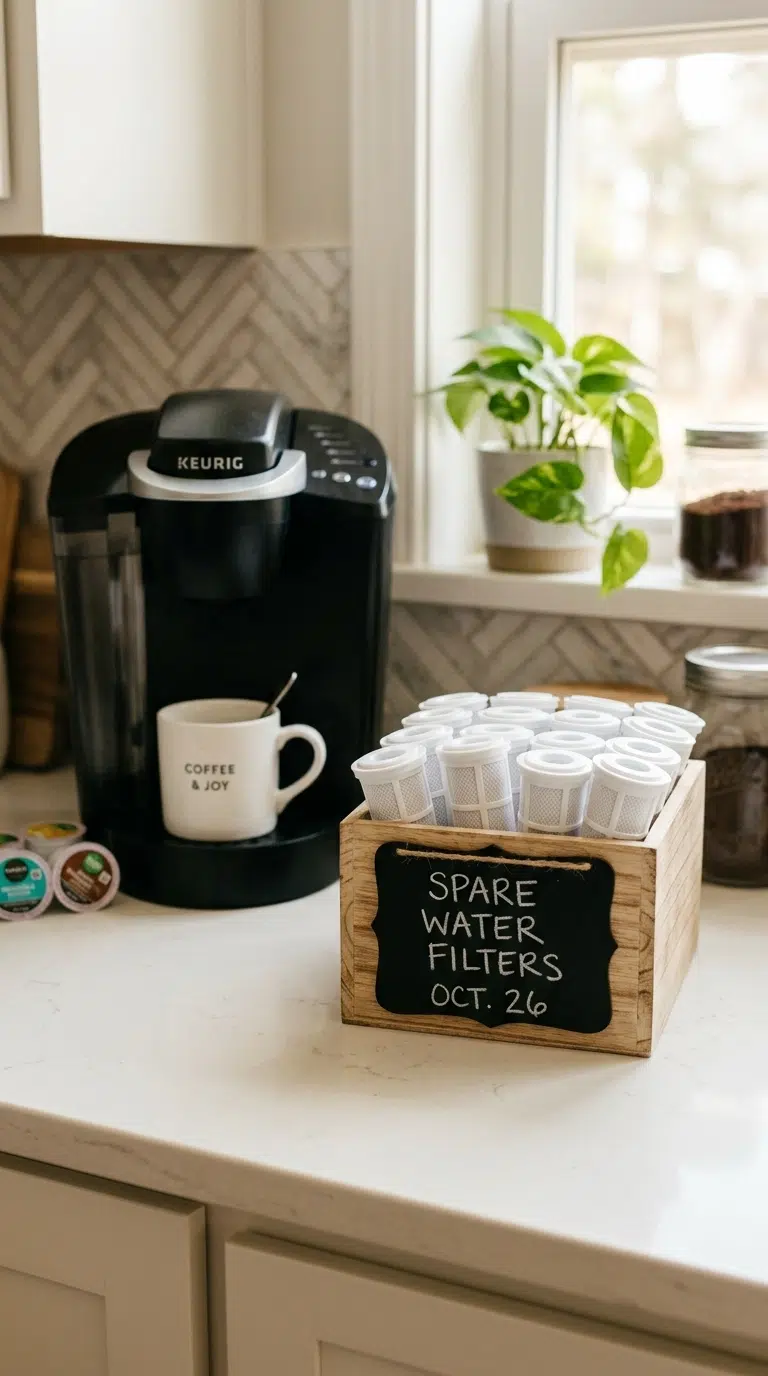
Keurig recommends changing the water filter cartridge roughly every three months, or every 60 tank refills for heavier daily use, but that schedule is easy to lose track of without a visible reminder.
Keep a small bin of spare filters near the station with a written date, either on a sticky note or a small chalkboard label, for when the next one is due.
Buying filters in a multi-pack of four to six at once means you’re never caught without one on hand mid-cycle, and multi-packs typically work out cheaper per cartridge than buying single replacements repeatedly.
Quick tip: Write the replacement date on the filter cartridge itself with a permanent marker as soon as you install it, so you’re not relying on memory or a separate note.
12. Turn an Awkward Corner Into a Coffee Station With a Lazy Susan
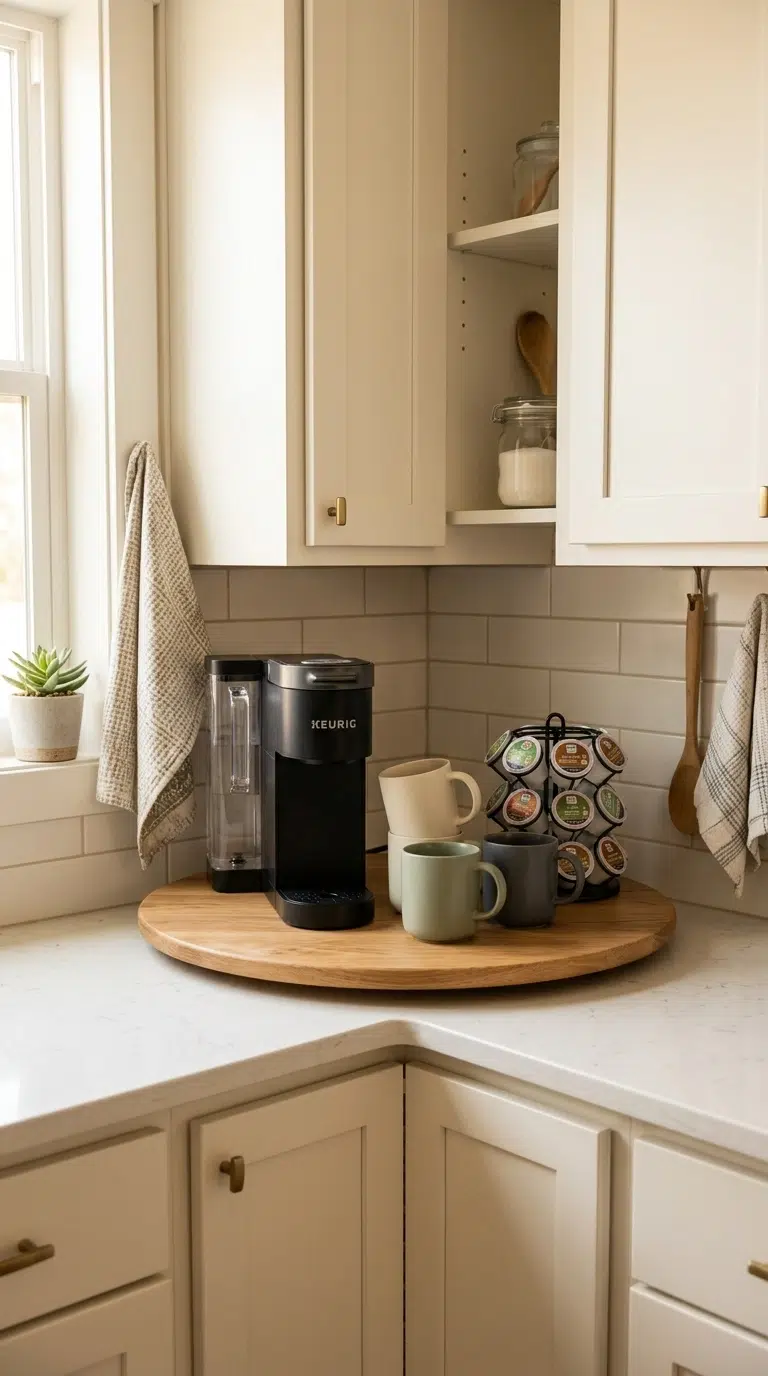
A lazy Susan placed in an underused kitchen corner turns dead space into a rotating coffee station, letting you spin the machine, mugs, and pods into reach instead of reorganizing the whole corner by hand.
This works especially well in galley or narrow kitchens where a dedicated linear counter run for a coffee station isn’t available.
A two-tier lazy Susan doubles the usable surface in the same footprint, letting you keep the machine on the lower tier and mugs or pods on the upper one without adding any extra counter space.
Quick tip: Choose a lazy Susan rated for at least 25 pounds if it’s holding the machine itself, since the combined weight of the machine, a full reservoir, and a mug adds up quickly.
I like using a two-tier lazy Susan organizer because it helps make better use of corners that often sit empty. Being able to rotate everything into reach keeps the station convenient while making the whole setup look more intentional.
13. Keep a Dedicated, GFCI-Protected Outlet for the Station
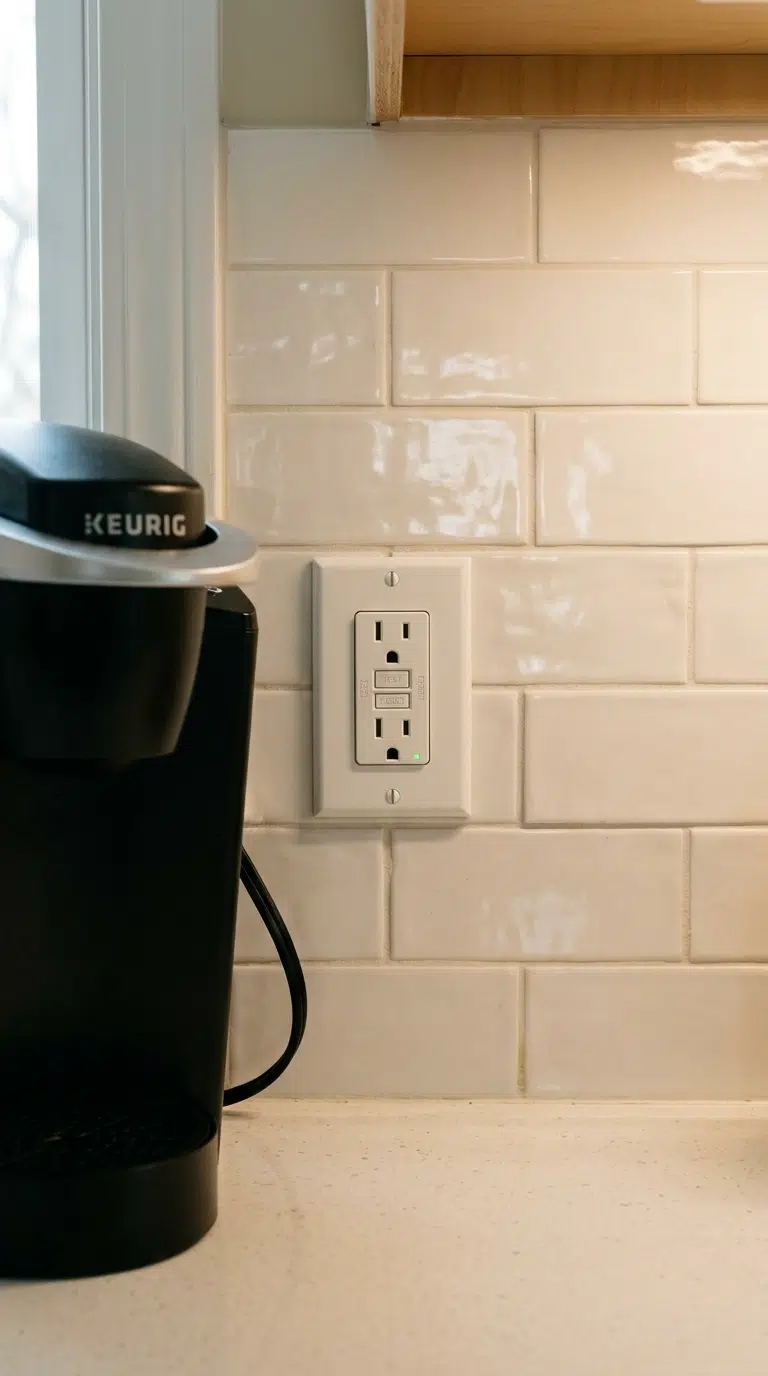
Any outlet within 6 feet of a kitchen sink or water source is required by electrical code to be GFCI-protected, and a Keurig’s water reservoir and regular refilling make this worth double-checking even away from the sink.
If your station’s outlet isn’t GFCI-protected, a GFCI outlet swap is a straightforward job for an electrician and meaningfully reduces shock risk around a water-filled appliance.
A GFCI outlet swap is typically a straightforward job for a licensed electrician, and it’s worth checking your kitchen’s outlets even outside of a renovation, since older homes often predate the current code requirement entirely.
What to avoid: Don’t run the Keurig off a shared power strip loaded with other high-draw kitchen appliances. Overloaded strips near water sources are a common and avoidable fire and shock risk.
14. Use a Caddy to Corral Creamers and Syrups
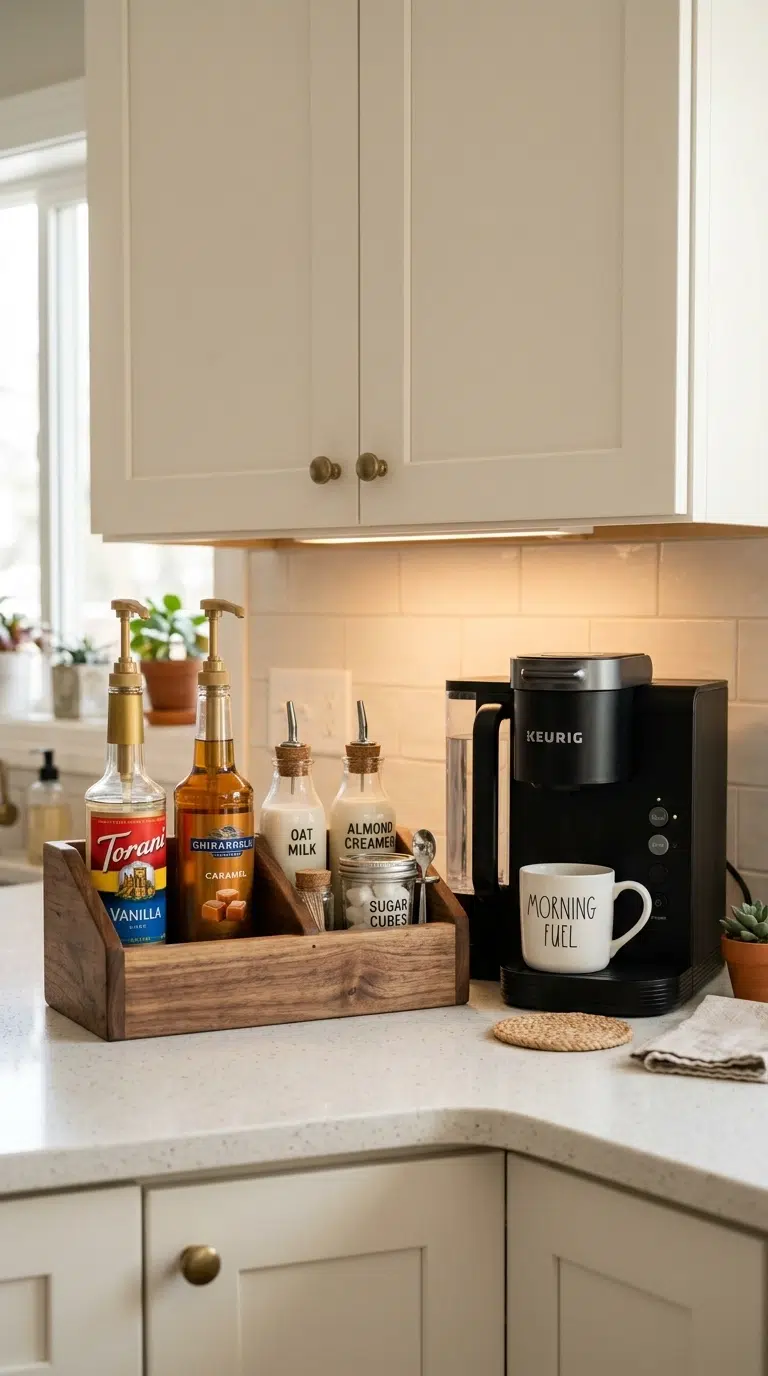
A small caddy or lazy Susan just for creamers, syrups, and sweeteners keeps sticky bottles contained and easy to wipe under, instead of leaving rings on the counter or shelf directly.
Choose a caddy with a solid, non-porous base, like acrylic or sealed wood, since spilled syrup on raw wood can stain permanently if it’s not wiped up quickly.
A caddy with a removable liner or tray insert makes cleanup even easier, since you can pull the liner out and rinse it separately instead of scrubbing syrup residue directly off the caddy’s fixed base.
Quick tip: Store refrigerated creamers in a small caddy inside the fridge door instead of on the counter, and only keep shelf-stable syrups in the countertop version.
One thing I always reach for is an acrylic coffee condiment caddy because it keeps syrups and sweeteners together in one easy-to-clean spot. It also helps prevent sticky bottles from spreading across the counter during busy mornings.
15. Hide the Machine in an Appliance Garage When Not in Use
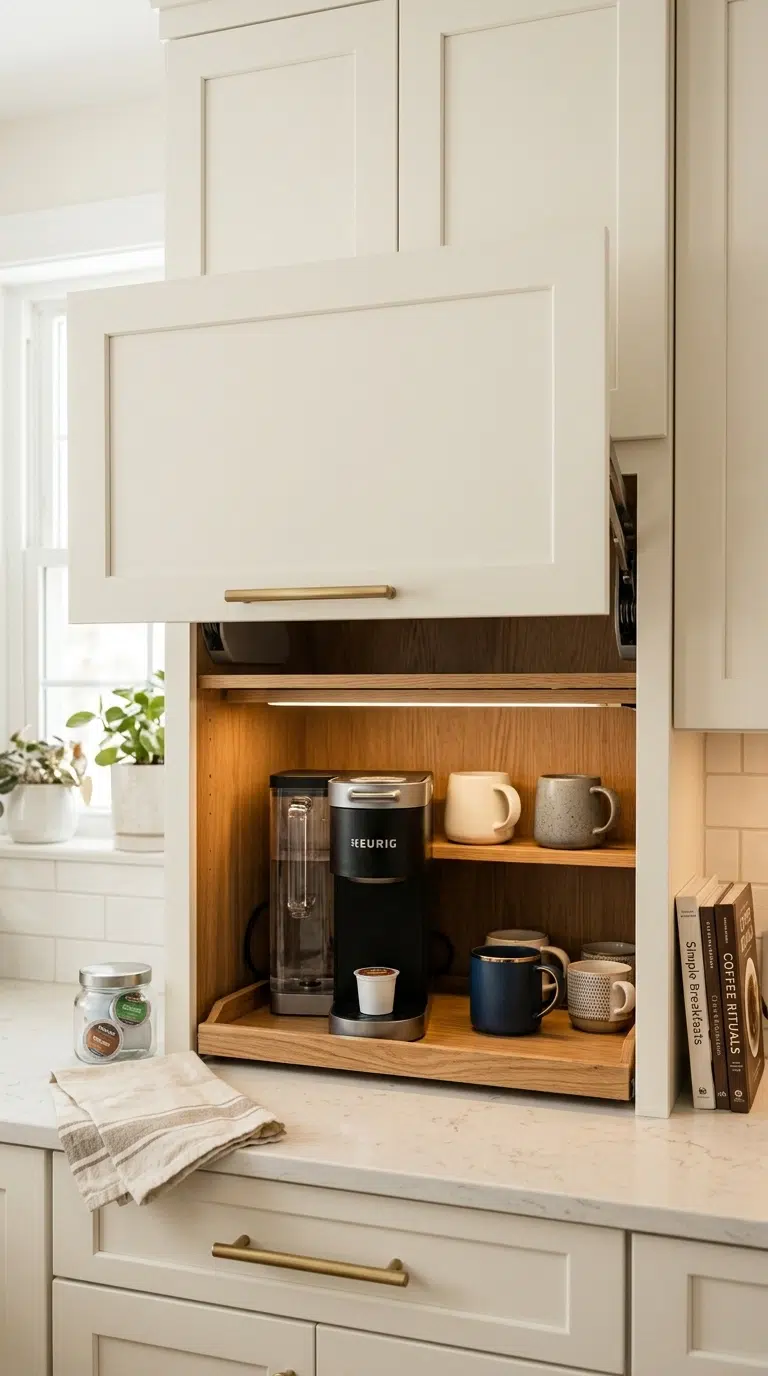
A cabinet-style appliance garage with a roll-up or lift-up door conceals the Keurig, pods, and mugs completely when you’re not actively using the station, which matters most in open-concept kitchens visible from the living room.
Because the machine still needs its full lid-clearance height inside the garage, measure the interior cabinet height, not just the width, before committing to this option.
Tambour-style roll-up doors take up less swing clearance than a hinged door, which matters in a tight kitchen where a fully open cabinet door could block a walkway or another cabinet.
Quick tip: Add a small interior outlet inside the garage itself so you’re not running a cord out through the door gap every morning.
16. Track Descaling Dates With a Simple Label System
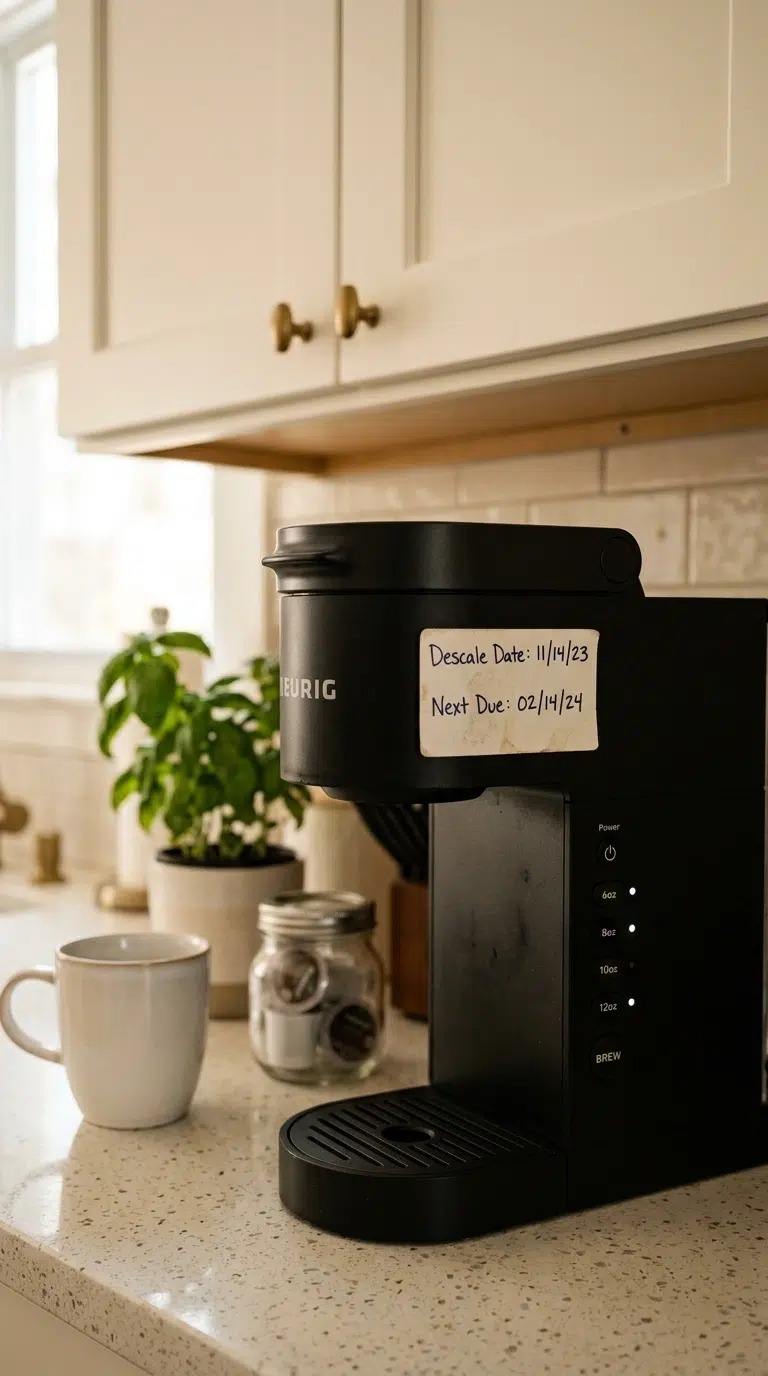
Keurig recommends descaling every three months with daily use, stretching to six months for lighter use, and most machines have a maintenance light that reminds you, then snoozes for six weeks if you postpone it.
A small write-on label or magnet near the station, marked with the last descale date, closes the gap between when the light comes on and when you actually get around to it.
Some Keurig models let you check the descale cycle count directly in the settings menu, which is worth checking rather than assuming the maintenance light’s timing is the only signal available on your specific machine.
Quick tip: Descale right after you notice slower brewing or a change in taste, both common early signs of mineral buildup, rather than waiting strictly for the light.
17. Add a Small Trash Bin Just for Spent Pods
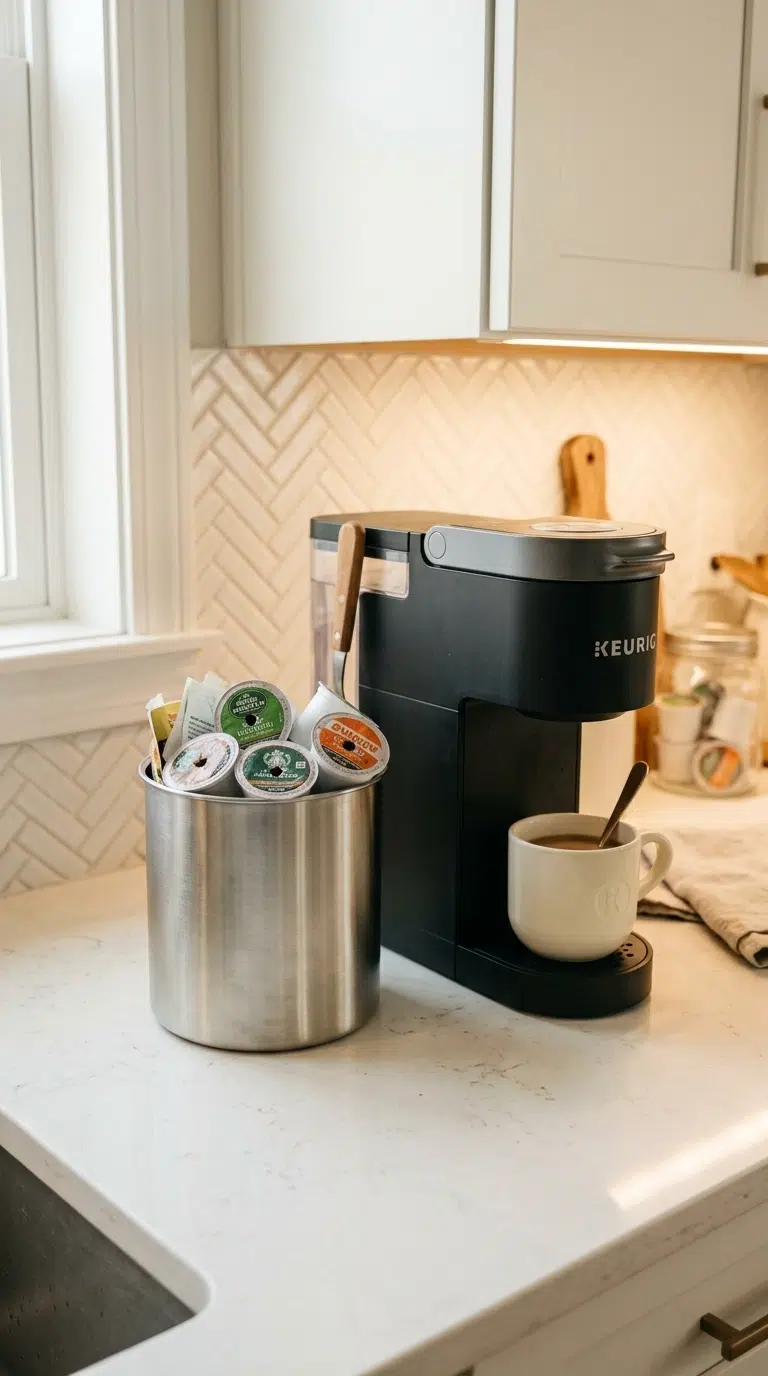
A dedicated mini trash bin, separate from the kitchen’s main trash can, keeps used pods from mixing with wetter kitchen waste and makes emptying grounds-only trash far less messy.
This pairs naturally with the used-pod bin idea above; the difference is a trash bin gets emptied into the main trash regularly, while a countertop catch bin is just the daily holding spot.
A bin with a foot pedal is worth the extra cost if your hands are usually full first thing in the morning; hands-free disposal removes the last excuse to leave a used pod sitting on the counter instead.
Quick tip: Line the mini bin with a small compostable bag if your K-Cups are a compostable or recyclable style, so grounds and filter material can go straight to compost instead of landfill trash.
18. Keep a Paper Towel or Small Towel Bar Within Arm’s Reach
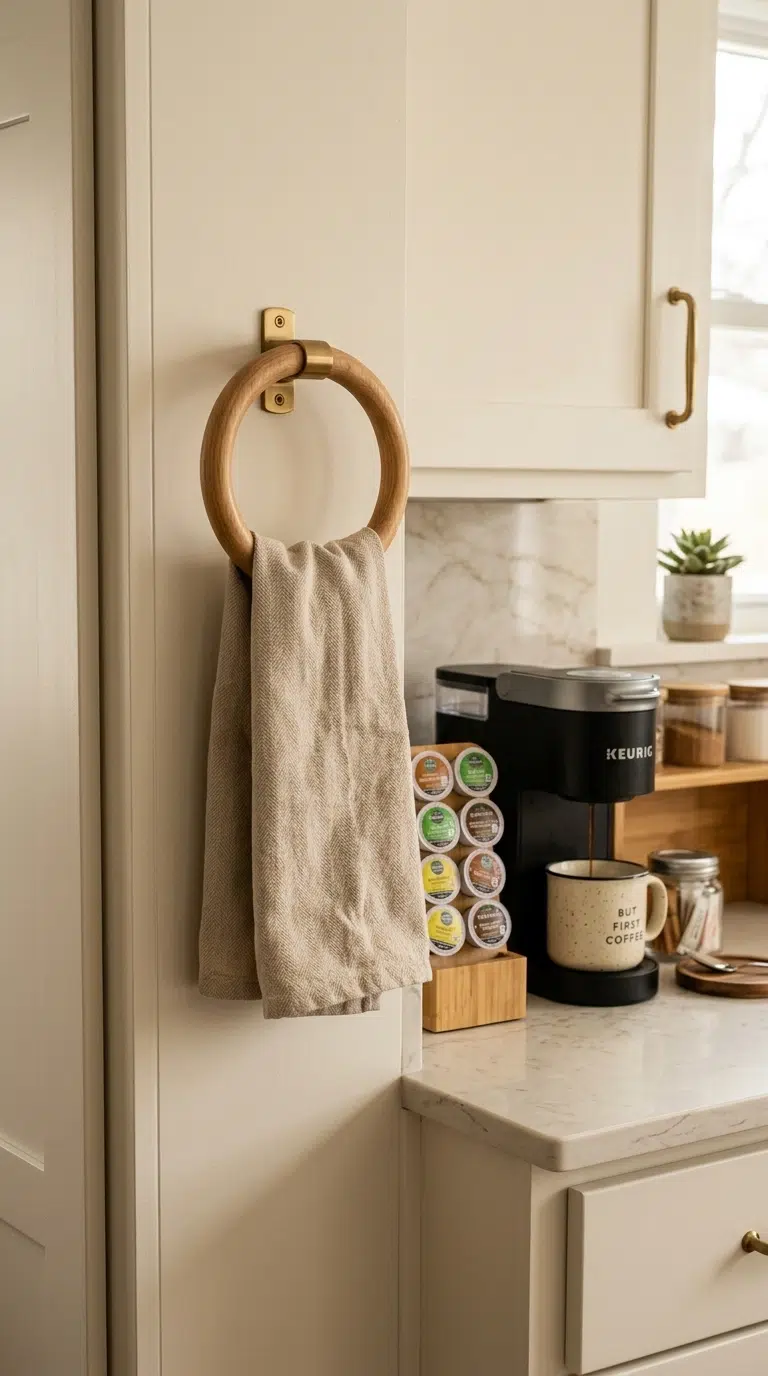
A wall-mounted paper towel holder or a small towel bar mounted right beside the station means spills and drips get wiped immediately instead of sitting until the next full counter cleanup.
Position it close enough to reach without stepping away from the machine, since a towel bar across the kitchen gets used far less often than one within arm’s length.
A towel that visibly matches the kitchen’s existing textiles reads as a styled decision rather than a stray rag left near the machine, which matters more than it sounds like in an open-concept kitchen.
Quick tip: A small hand towel on a ring works just as well as paper towels for daily wipe-downs and cuts down on paper waste from a station used multiple times a day.
19. Use Stackable Canisters for Loose Coffee, Sugar, and Add-Ins
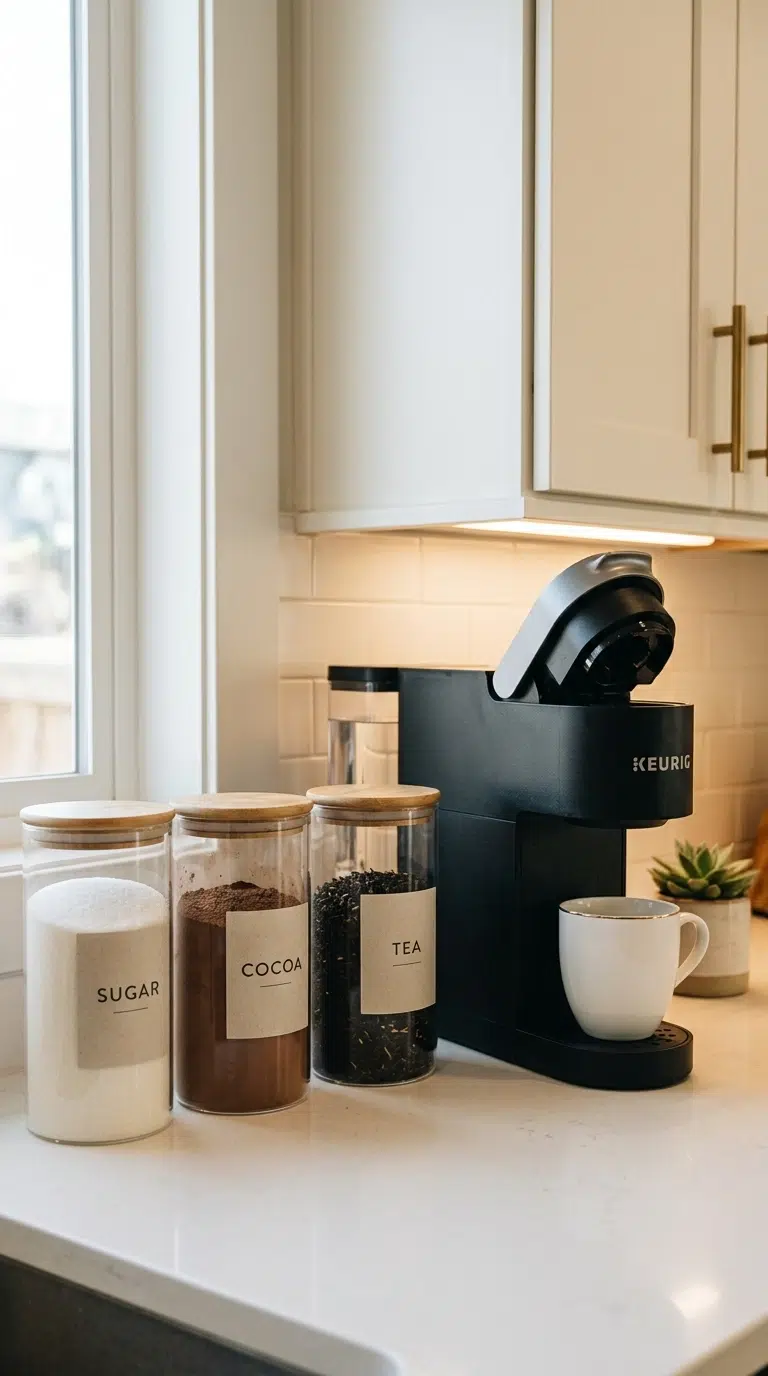
Stackable, airtight canisters for sugar, loose tea, or hot cocoa mix keep the station tidy and protect contents from humidity better than the bags or boxes they’re sold in.
Label each canister clearly, especially if several look similar, since a mislabeled sugar and salt swap is a classic and avoidable coffee station mishap.
Glass canisters let you see when a supply is running low at a glance, which helps with grocery planning more than opaque ceramic versions do, even though the ceramic option often photographs better for a styled counter.
Quick tip: Choose canisters with flat, stackable lids over round screw-top designs if counter space is tight; flat stacking saves real vertical inches over several jars.
I’ve found that airtight glass storage canisters make a coffee station look tidier while keeping everyday ingredients easy to find. Seeing what’s inside at a glance also makes it simpler to notice when supplies are starting to run low.
20. Add Under-Cabinet Lighting Over the Station
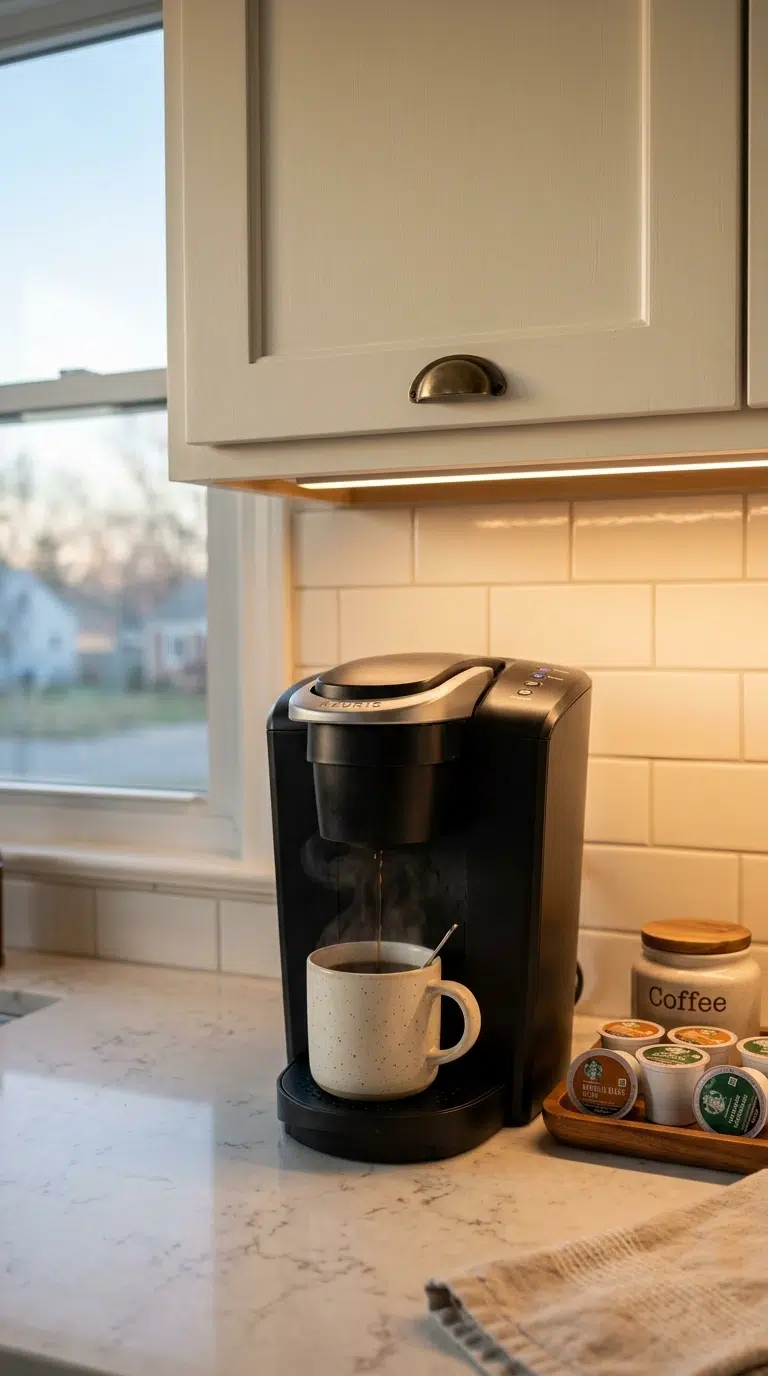
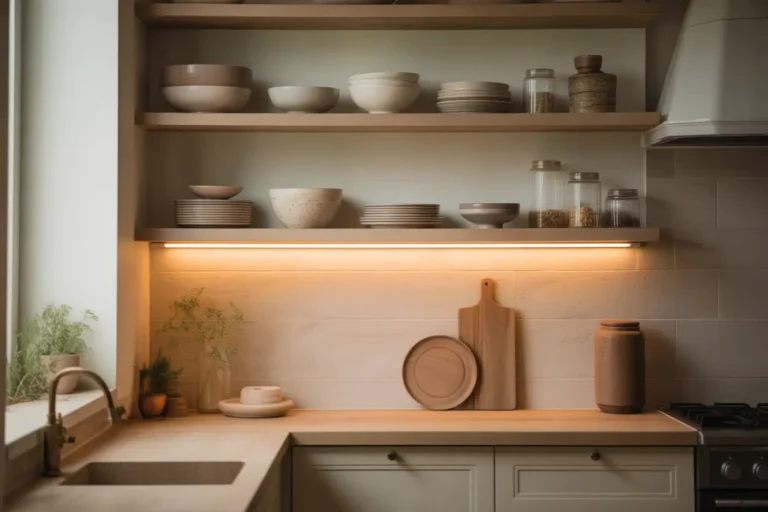
A slim LED light strip mounted under the cabinet above the station makes early-morning coffee prep easier without needing to switch on harsh overhead kitchen lights.
Battery-powered, stick-on LED strips are the simplest retrofit option and don’t require any wiring, though they need battery changes every few months depending on daily use.
Hardwired under-cabinet lighting lasts longer and looks more finished than the stick-on battery version, but it requires an electrician, so most renters and short-term setups reach for the battery-powered strips instead.
Quick tip: Choose a warm white LED strip, around 2700–3000K, rather than a cool white one, so the early-morning light feels gentle rather than clinical.
I like adding a battery-powered LED light strip because it brightens the coffee station without needing a larger project. A soft light makes early mornings feel more comfortable and helps highlight the space as a dedicated part of the kitchen.
21. Store Descaling Supplies and Tools in a Nearby Drawer Insert
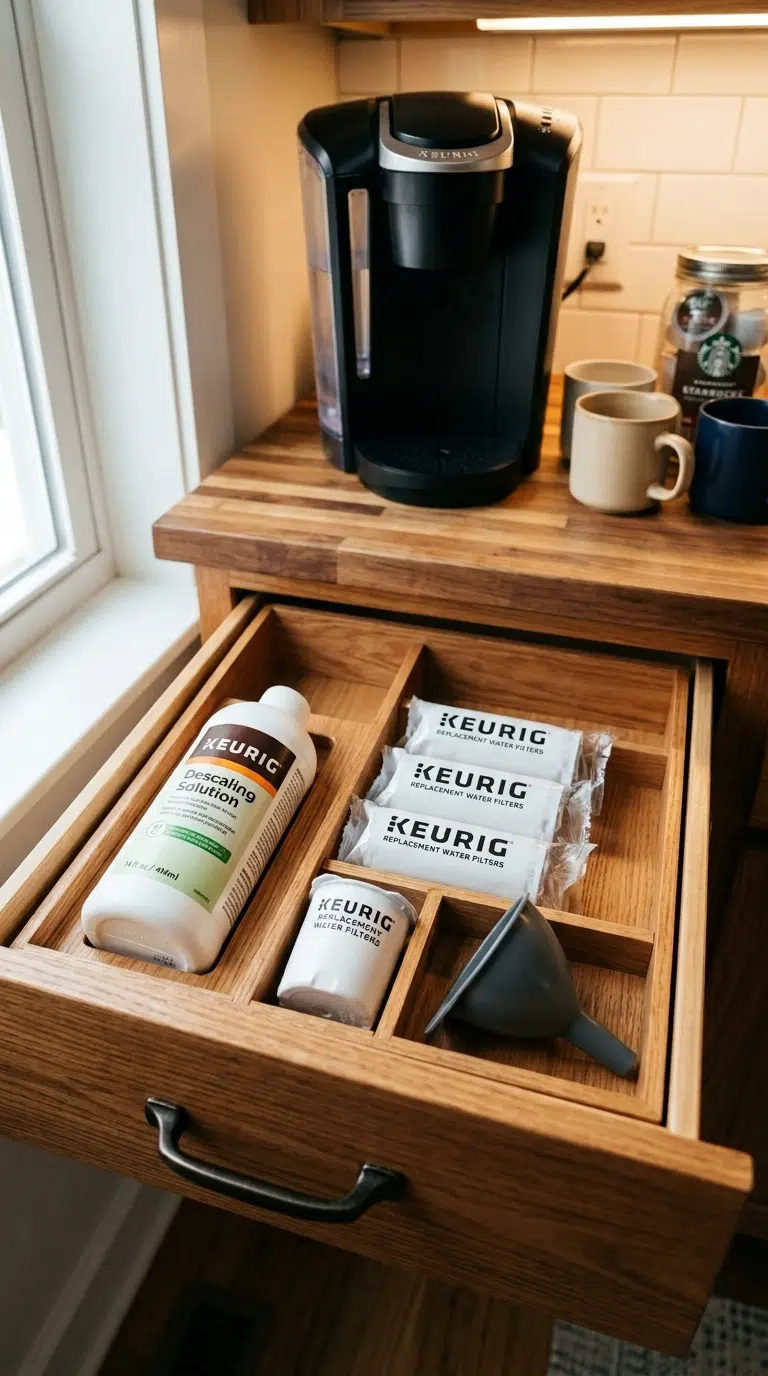
A small drawer insert near the station holding descaling solution, spare filters, and a funnel keeps maintenance supplies together instead of scattered across different cabinets when you actually need them.
This matters most on descaling day itself, when having every part of the process in one spot turns a 20-minute task into something you don’t dread doing on schedule.
Keep a spare set of any small parts, like a funnel or specific descaling attachment, in the same drawer, since a missing small part is a common reason a scheduled descaling day gets pushed back another week.
Quick tip: Store the descaling solution bottle upright and clearly labeled, since it’s easy to confuse with other cleaning liquids at a glance if it’s unmarked.
22. Keep the Water Source Close, but the Outlet Dry
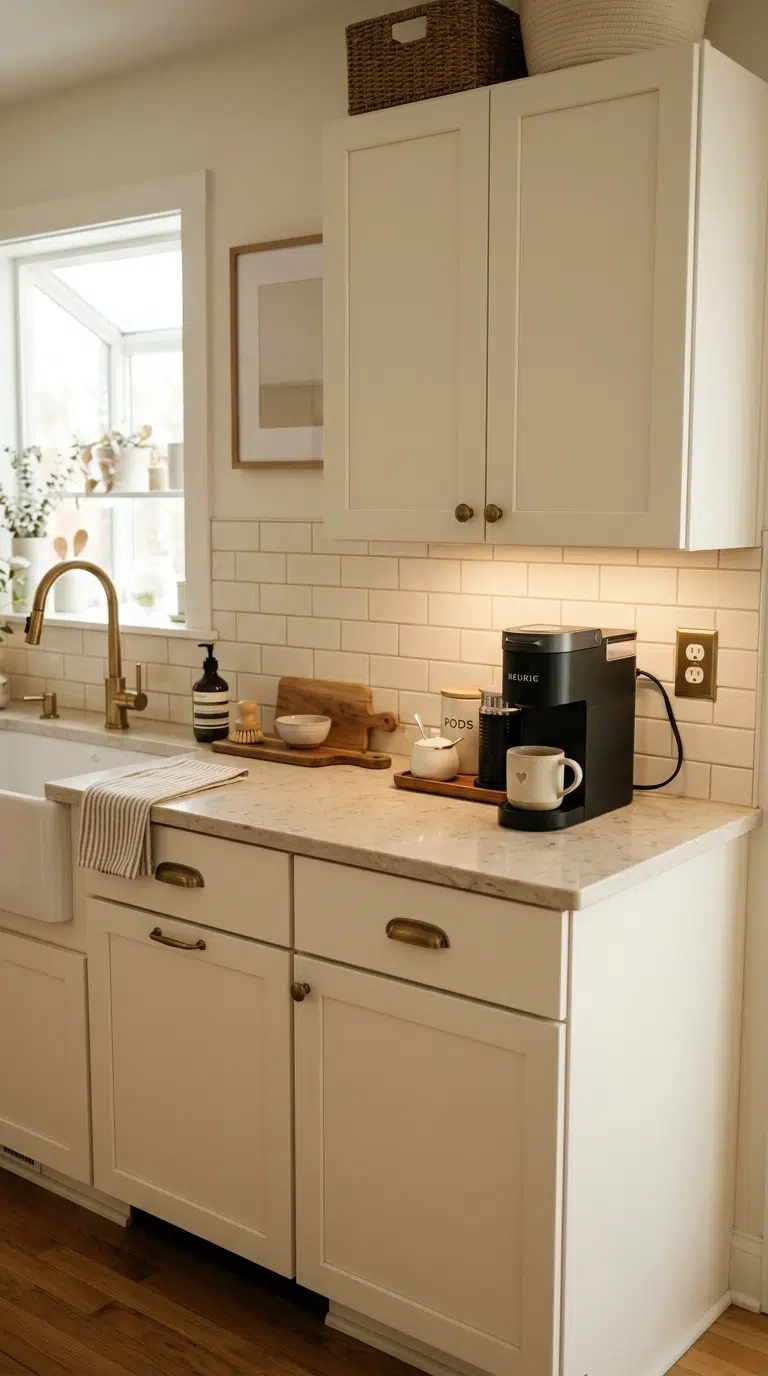
Positioning the station near a sink makes refilling the reservoir far more convenient, but the outlet and cord still need to stay clear of the direct splash zone around the faucet.
A short, dedicated cord run along the backsplash, rather than draped across the counter toward the sink, keeps the convenience without adding daily risk of a wet cord near the outlet.
If your kitchen layout doesn’t allow much distance between the sink and the outlet, a short silicone splash guard behind the outlet plate adds a cheap extra layer of protection without needing an electrician.
Quick tip: If your sink and station share a counter run, position the machine at the far end from the faucet, not the near end, even if it means a few extra steps to refill.
23. Choose a Two-Tier Organizer If You Stock More Than One Pod Flavor
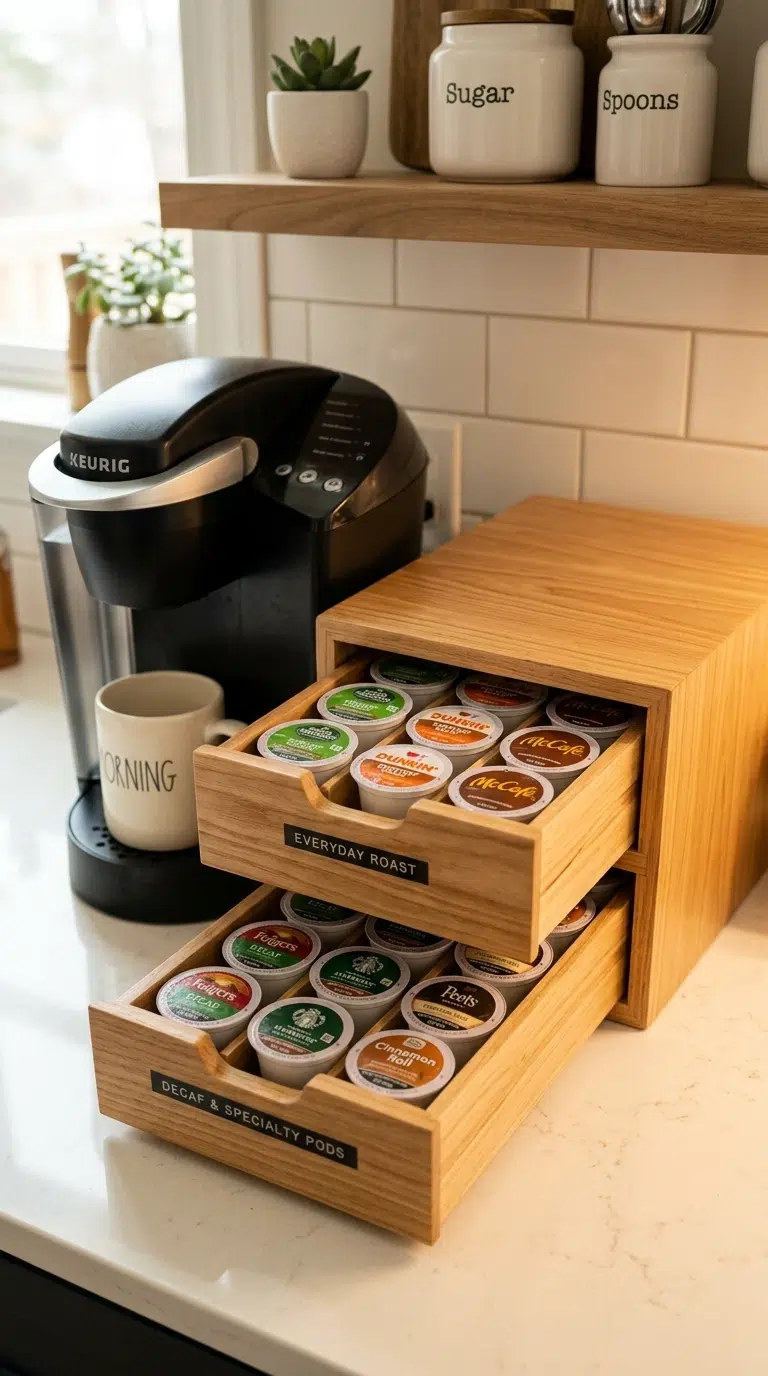
A two-tier pod drawer, holding up to 72 pods total across its levels, makes sense once a household regularly stocks more than two or three flavors, since a single-tier organizer that size takes up far more counter footprint for the same capacity.
Assign each tier to a category, like “everyday roasts” on top and “decaf and specialty” below, so the extra capacity stays organized instead of just becoming a bigger mixed pile.
Because two-tier organizers take up roughly the same footprint as a single-tier drawer while holding close to double the pods, they’re one of the few upgrades that adds real capacity without costing any additional counter space.
Quick tip: Only upgrade to a two-tier organizer if you’re consistently running out of space in a standard one; extra capacity you don’t need just adds unused counter footprint.
Bringing It All Together
A genuinely organized Keurig station starts with the machine actually fitting where you put it, real lid clearance, a reservoir or fill routine that matches your counter setup, and pod storage sized to what you actually keep on hand. Layer the maintenance habits, a used-pod bin, a filter reminder, a spot for descaling supplies, on top of that, and the station stays looking as good in month six as it did on day one.
Pick your favorite layout, save it to Pinterest, and start organizing your own Keurig coffee station this weekend.
FAQs
How much clearance does a Keurig need above it to open the lid?
Most Keurig models, including compact ones like the K-Mini, need roughly 13 to 14 inches of clearance above the machine to fully lift the lid and insert a pod. Placing the machine directly under a cabinet without checking this is the most common coffee station setup mistake.
How often should you descale a Keurig?
Keurig recommends descaling every three months if you use the machine daily, stretching to about six months for lighter use. Most machines have a maintenance light that reminds you and will snooze for about six weeks if you postpone it.
How often should you change a Keurig water filter?
Keurig’s official guidance is roughly every three months, or every 60 tank refills for heavier daily use. Signs you need to change it sooner include flat or metallic-tasting coffee or the descale light coming on earlier than expected.
How many K-Cup pods does a standard organizer hold?
A compact carousel typically holds 20 to 24 pods, a standard carousel or drawer holds 36 to 42, and a two-tier drawer organizer can hold up to 72 pods across both levels. Choose the size based on how many flavors you actually keep stocked, not the largest option available.
Is it safe to keep a Keurig near the kitchen sink?
Keeping it near a sink is convenient for refilling, but any outlet within 6 feet of a water source should be GFCI-protected under electrical code. Position the machine and its cord away from the direct splash zone around the faucet even if the outlet itself is protected.